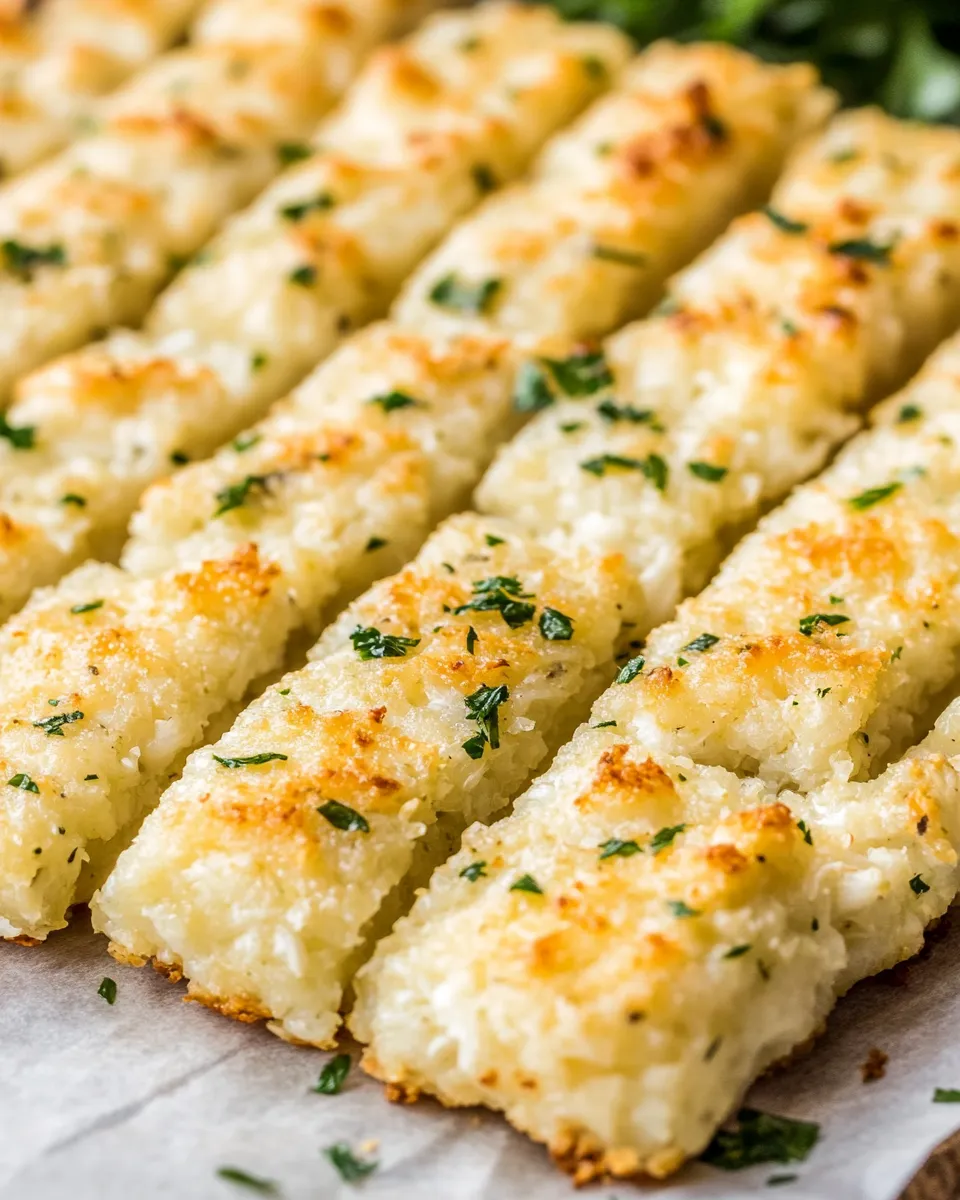
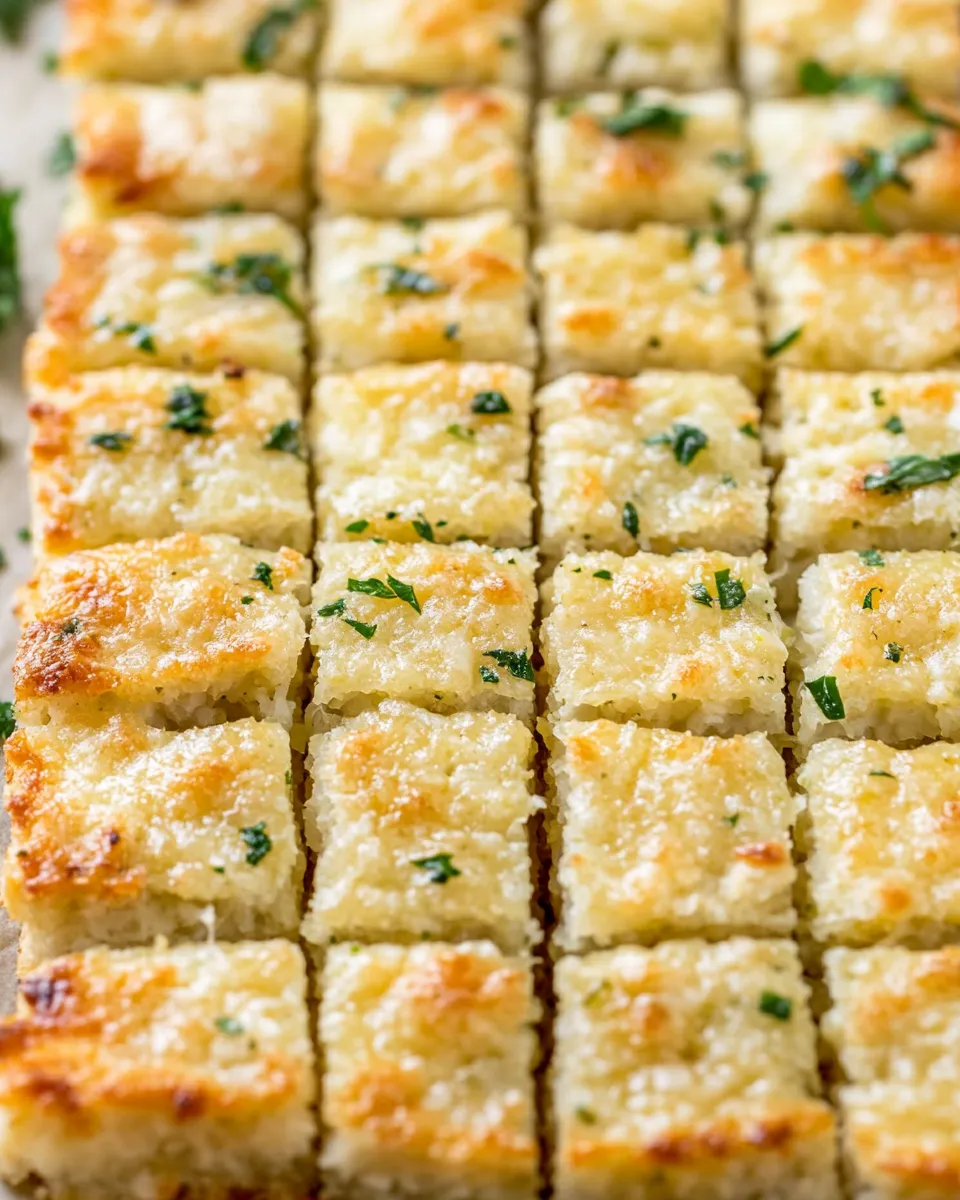
If you’re looking for a delicious, guilt-free alternative to traditional breadsticks, these Low Carb Cauliflower Breadsticks are exactly what you need. They’re perfect for those who want to enjoy a tasty snack without the heavy carbs, and they pair wonderfully with your favorite dips and sauces. Made primarily from cauliflower, these breadsticks are not only low in carbohydrates but also packed with nutrients. Whether you’re following a low-carb or keto lifestyle, or simply want to add more vegetables to your diet, this recipe is a fantastic option that’s easy to make and incredibly satisfying.
Why This Recipe Is a Must-Try
This cauliflower breadsticks recipe is a game-changer for several reasons. First, it offers all the flavor and texture you crave from traditional breadsticks but with a significantly reduced carbohydrate count. The cauliflower base keeps the breadsticks moist and tender, while the cheese and spices add a wonderful savory depth. It’s a versatile recipe that can be served as an appetizer, a side dish, or even a snack.
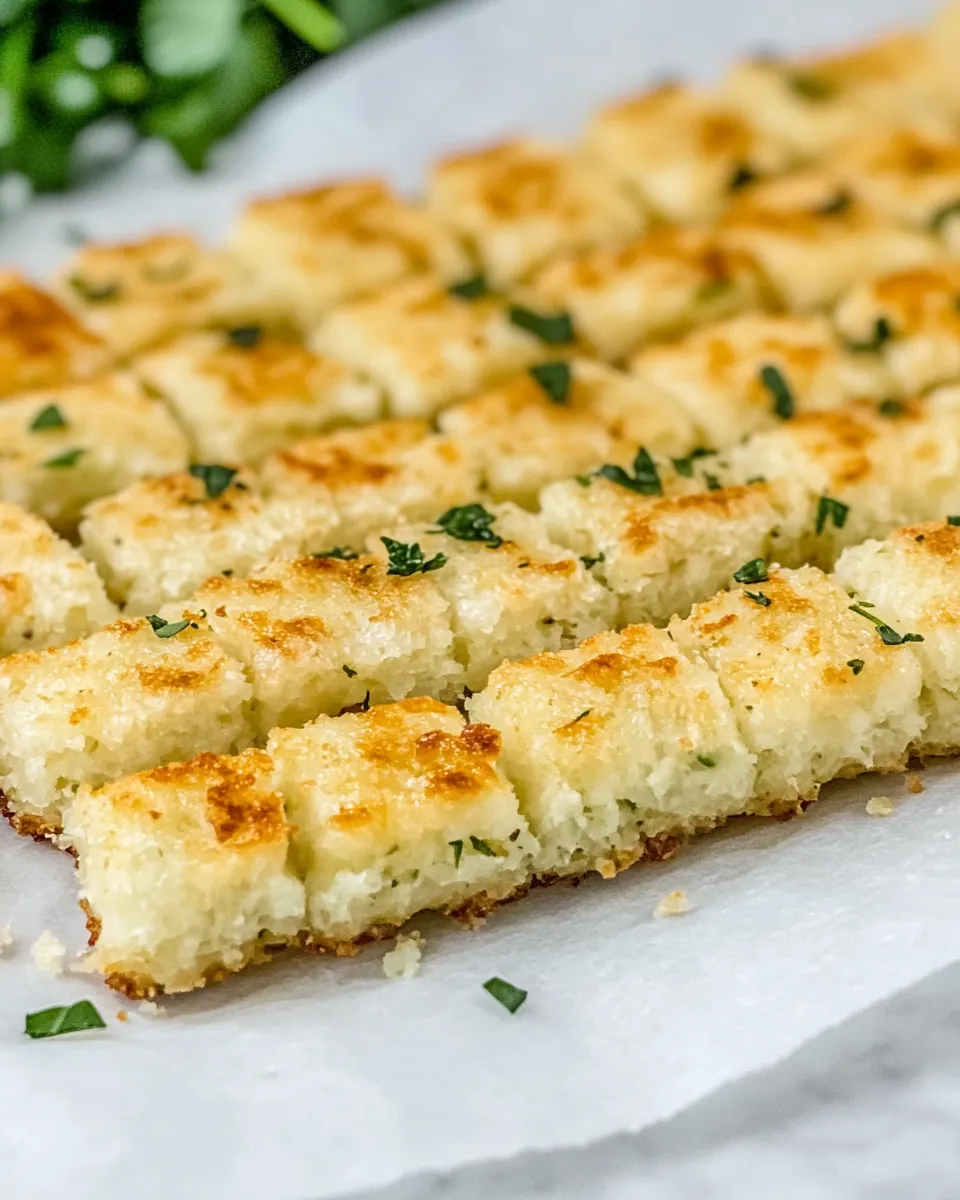
Not only is this recipe low in carbs, but it’s also gluten-free and packed with veggies, making it suitable for a wide range of dietary preferences. The simplicity of the ingredients paired with the ease of preparation means that even beginners can whip up these breadsticks in no time. Plus, they bake up beautifully with a golden crust and a soft, chewy inside — perfect for dipping or enjoying on their own.
Ingredients
- 1 medium head of cauliflower (about 4 cups riced cauliflower)
- 1 large egg, beaten
- 1 cup shredded mozzarella cheese
- 1/4 cup grated Parmesan cheese
- 1 teaspoon garlic powder
- 1 teaspoon dried Italian seasoning
- 1/2 teaspoon salt
- 1/4 teaspoon black pepper
- 2 tablespoons fresh chopped parsley (optional, for garnish)
- Marinara sauce or any dipping sauce of your choice
How To Make Low Carb Cauliflower Breadsticks
Step 1: Prepare the Cauliflower
Start by washing the cauliflower thoroughly and cutting it into florets. Using a food processor, pulse the cauliflower florets until they reach a rice-like consistency. Be careful not to over-process or it will turn mushy. Transfer the riced cauliflower to a microwave-safe bowl and microwave on high for about 5 minutes, or until softened.
Step 2: Remove Excess Moisture
This step is crucial for achieving the right texture. Once the cauliflower has cooled slightly, place it in a clean kitchen towel or cheesecloth and squeeze out as much moisture as possible. The drier the cauliflower, the better your breadsticks will hold together.
Step 3: Combine Ingredients
In a mixing bowl, combine the drained cauliflower, beaten egg, mozzarella cheese, Parmesan cheese, garlic powder, Italian seasoning, salt, and black pepper. Mix well until all ingredients are fully incorporated and form a dough-like consistency.
Step 4: Shape the Breadsticks
Line a baking sheet with parchment paper or a silicone baking mat. Transfer the cauliflower mixture onto the sheet and press it into a rectangular shape about 1/2 inch thick. You can use a spatula or your hands to smooth out the surface evenly.
Step 5: Bake the Base
Preheat your oven to 400°F (200°C). Bake the cauliflower base for 20-25 minutes or until it starts to turn golden brown and feels firm to the touch.
Step 6: Add Toppings and Finish Baking
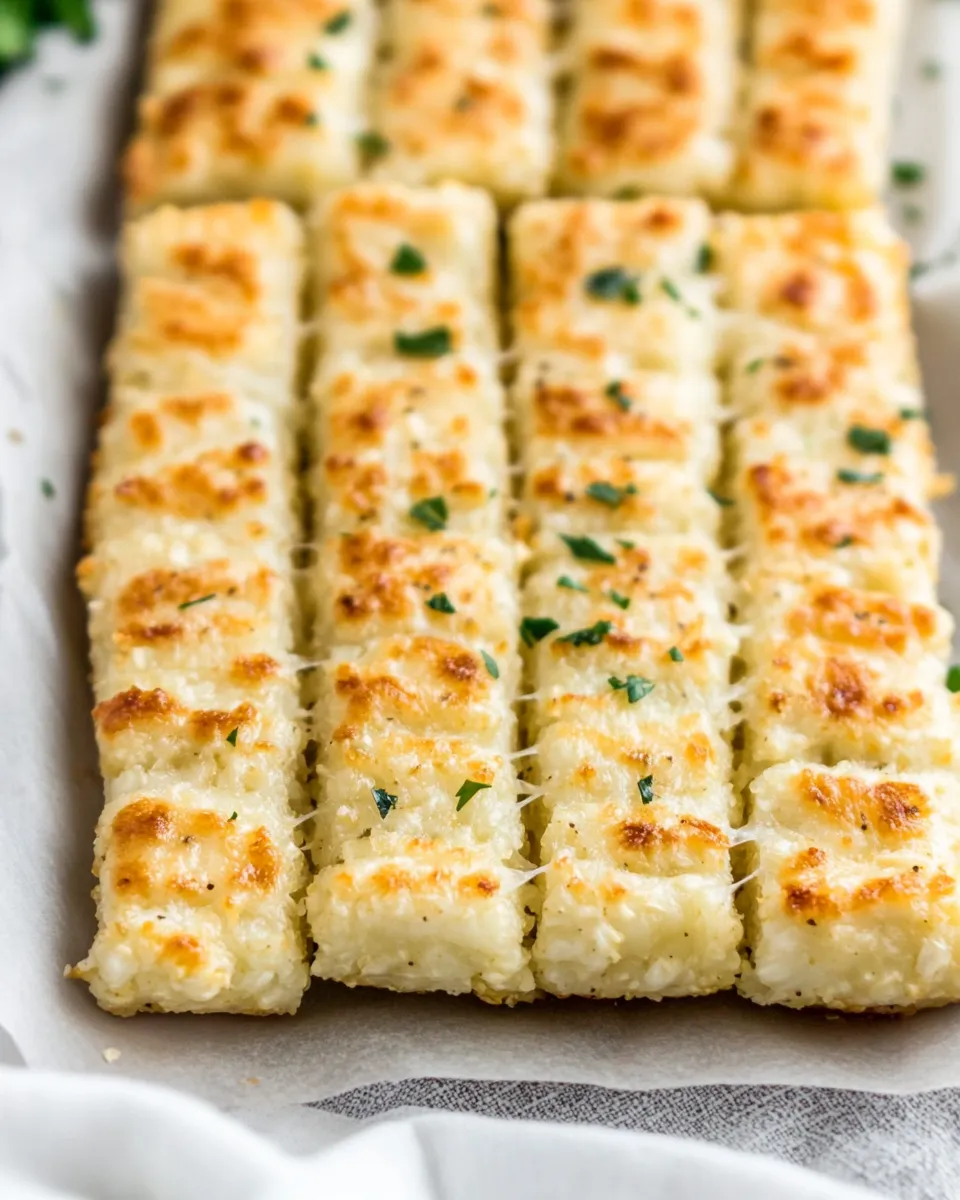
Remove the base from the oven and sprinkle additional mozzarella cheese evenly over the top. Return it to the oven and bake for another 5-7 minutes, or until the cheese melts and bubbles.
Step 7: Slice and Serve
Let the breadsticks cool for a few minutes before slicing them into sticks. Garnish with fresh chopped parsley if desired and serve warm with your favorite dipping sauce like marinara or garlic butter.
Expert Tips
- Don’t skip squeezing out the moisture: Removing as much water as possible from the riced cauliflower is essential to prevent soggy breadsticks.
- Use fresh cauliflower: Fresh cauliflower works best for texture and flavor. Avoid frozen if possible, as it tends to be more watery.
- Customize the seasoning: Feel free to adjust the garlic powder, Italian seasoning, or add red pepper flakes for a spicy kick.
- Use parchment paper or silicone mats: This helps prevent the breadsticks from sticking and makes cleanup easier.
- Allow breadsticks to cool slightly: This helps them firm up and hold their shape better when sliced.
Variations and Customizations
- Add herbs: Fresh basil, oregano, or rosemary can be mixed into the dough for extra flavor.
- Cheese varieties: Try substituting mozzarella with cheddar, pepper jack, or even a dairy-free cheese alternative if preferred.
- Spicy version: Add crushed red pepper flakes or chopped jalapeños to the dough for a little heat.
- Stuffed breadsticks: Place a small amount of cheese or cooked spinach inside the dough before baking for a fun surprise.
- Top with sesame or poppy seeds: Sprinkle seeds on top before baking for added texture and visual appeal.
How to Store Leftovers
To store leftover cauliflower breadsticks, allow them to cool completely. Place them in an airtight container and refrigerate for up to 3 days. When ready to enjoy again, reheat in a preheated oven at 350°F (175°C) for about 5-7 minutes or until warmed through and crispy. Avoid microwaving if possible, as this can make them soggy. For longer storage, you can freeze the breadsticks by wrapping them individually in plastic wrap and placing them in a freezer-safe bag for up to 1 month. Thaw in the refrigerator overnight before reheating.
FAQ
Can I make these breadsticks dairy-free?
Yes! You can substitute the mozzarella and Parmesan cheeses with your favorite dairy-free cheese alternatives that melt well. Nutritional yeast can also add a cheesy flavor if you prefer a non-dairy option.
Is it necessary to use an egg in this recipe?
The egg helps bind the breadsticks together and improve texture. If you need an egg-free version, try using a flax egg (1 tablespoon ground flaxseed mixed with 3 tablespoons water) as a vegan binder, though the texture may be slightly different.
Can I use frozen cauliflower instead of fresh?
While fresh cauliflower is preferred for the best texture, you can use frozen cauliflower if necessary. Make sure to thaw it completely and squeeze out all excess moisture before proceeding with the recipe.
What dipping sauces go best with these breadsticks?
Marinara sauce is a classic choice, but you can also serve these breadsticks with garlic butter, ranch dressing, pesto, or even a spicy aioli for extra flavor.
Conclusion
These Low Carb Cauliflower Breadsticks are a fantastic way to enjoy a classic comfort food without the heavy carbs and gluten. They’re easy to make, versatile, and delicious — a perfect addition to any meal or snack lineup. Whether you’re serving them at a party, alongside a salad, or just craving a cheesy, flavorful treat, these breadsticks won’t disappoint. Give this recipe a try and enjoy a healthier twist on a beloved favorite!
Low Carb Cauliflower Breadsticks
Ingredients
- 1 medium head cauliflower about 4 cups riced cauliflower
- 1 large egg beaten
- 1 cup shredded mozzarella cheese
- 1/4 cup grated Parmesan cheese
- 1 teaspoon garlic powder
- 1 teaspoon dried Italian seasoning
- 1/2 teaspoon salt
- 1/4 teaspoon black pepper
- 2 tablespoons fresh chopped parsley optional, for garnish
- Marinara sauce or any dipping sauce of your choice
Instructions
Step 1: Prepare the Cauliflower
- Start by washing the cauliflower thoroughly and cutting it into florets. Using a food processor, pulse the cauliflower florets until they reach a rice-like consistency. Be careful not to over-process or it will turn mushy. Transfer the riced cauliflower to a microwave-safe bowl and microwave on high for about 5 minutes, or until softened.
Step 2: Remove Excess Moisture
- Once the cauliflower has cooled slightly, place it in a clean kitchen towel or cheesecloth and squeeze out as much moisture as possible. The drier the cauliflower, the better your breadsticks will hold together.
Step 3: Combine Ingredients
- In a mixing bowl, combine the drained cauliflower, beaten egg, mozzarella cheese, Parmesan cheese, garlic powder, Italian seasoning, salt, and black pepper. Mix well until all ingredients are fully incorporated and form a dough-like consistency.
Step 4: Shape the Breadsticks
- Line a baking sheet with parchment paper or a silicone baking mat. Transfer the cauliflower mixture onto the sheet and press it into a rectangular shape about 1/2 inch thick. You can use a spatula or your hands to smooth out the surface evenly.
Step 5: Bake the Base
- Preheat your oven to 400°F (200°C). Bake the cauliflower base for 20-25 minutes or until it starts to turn golden brown and feels firm to the touch.
Step 6: Add Toppings and Finish Baking
- Remove the base from the oven and sprinkle additional mozzarella cheese evenly over the top. Return it to the oven and bake for another 5-7 minutes, or until the cheese melts and bubbles.
Step 7: Slice and Serve
- Let the breadsticks cool for a few minutes before slicing them into sticks. Garnish with fresh chopped parsley if desired and serve warm with your favorite dipping sauce like marinara or garlic butter.
Equipment
- Food Processor
- Microwave
- Mixing Bowl
- Baking Sheet
- Parchment Paper
- Kitchen Towel or Cheesecloth
- Oven
- Spatula