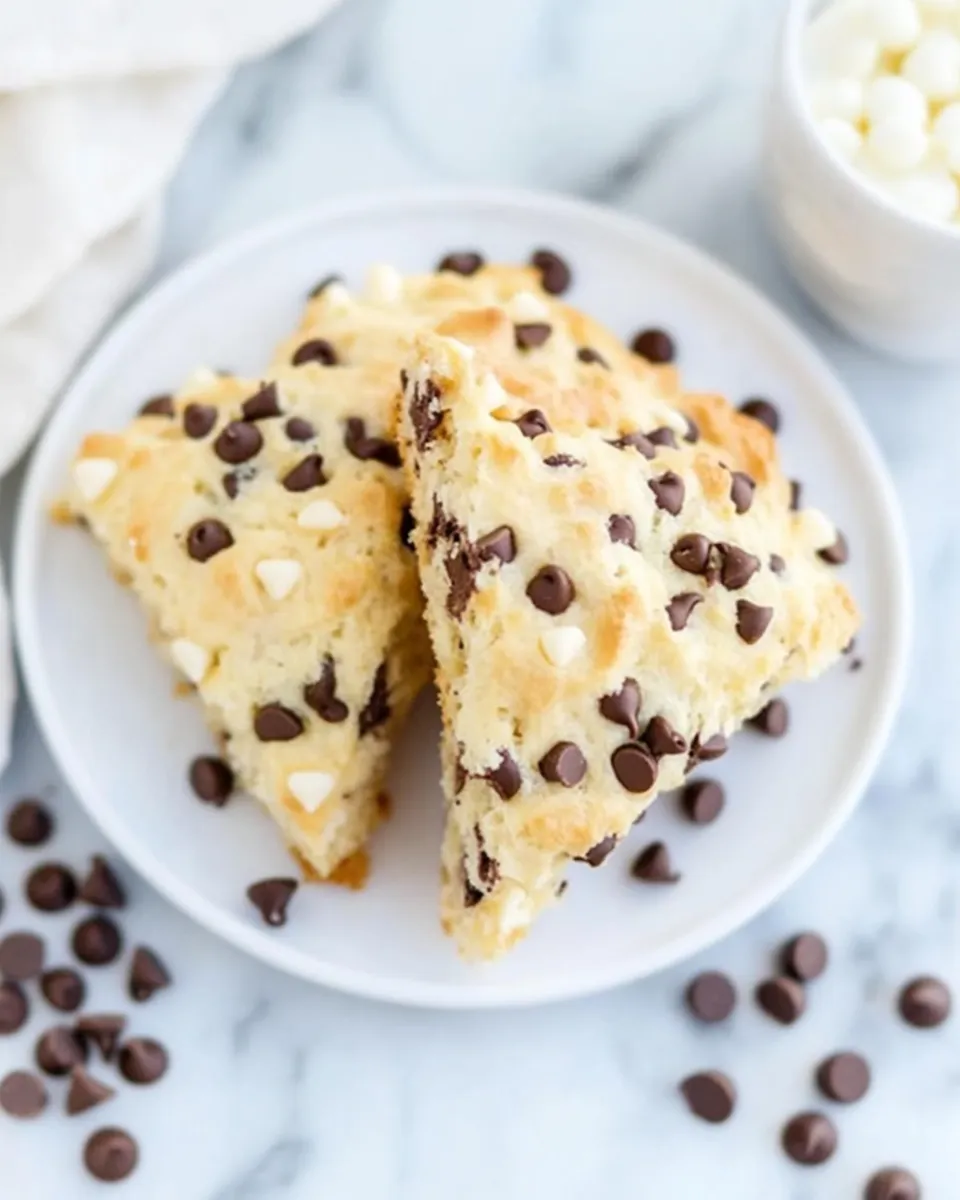
There’s nothing quite like the warm, buttery aroma of freshly baked scones wafting through your kitchen. If you’re searching for a delightful breakfast treat or an indulgent afternoon snack, these chocolate chip scones are sure to become your new favorite. Crispy on the outside, tender and flaky on the inside, and studded with melty chocolate chips, they hit all the right notes. Whether you’re an experienced baker or a beginner, this recipe is straightforward, forgiving, and incredibly satisfying. Ready to bake the ultimate batch of chocolate chip scones? Let’s dive in!
Why This Recipe Is a Must-Try
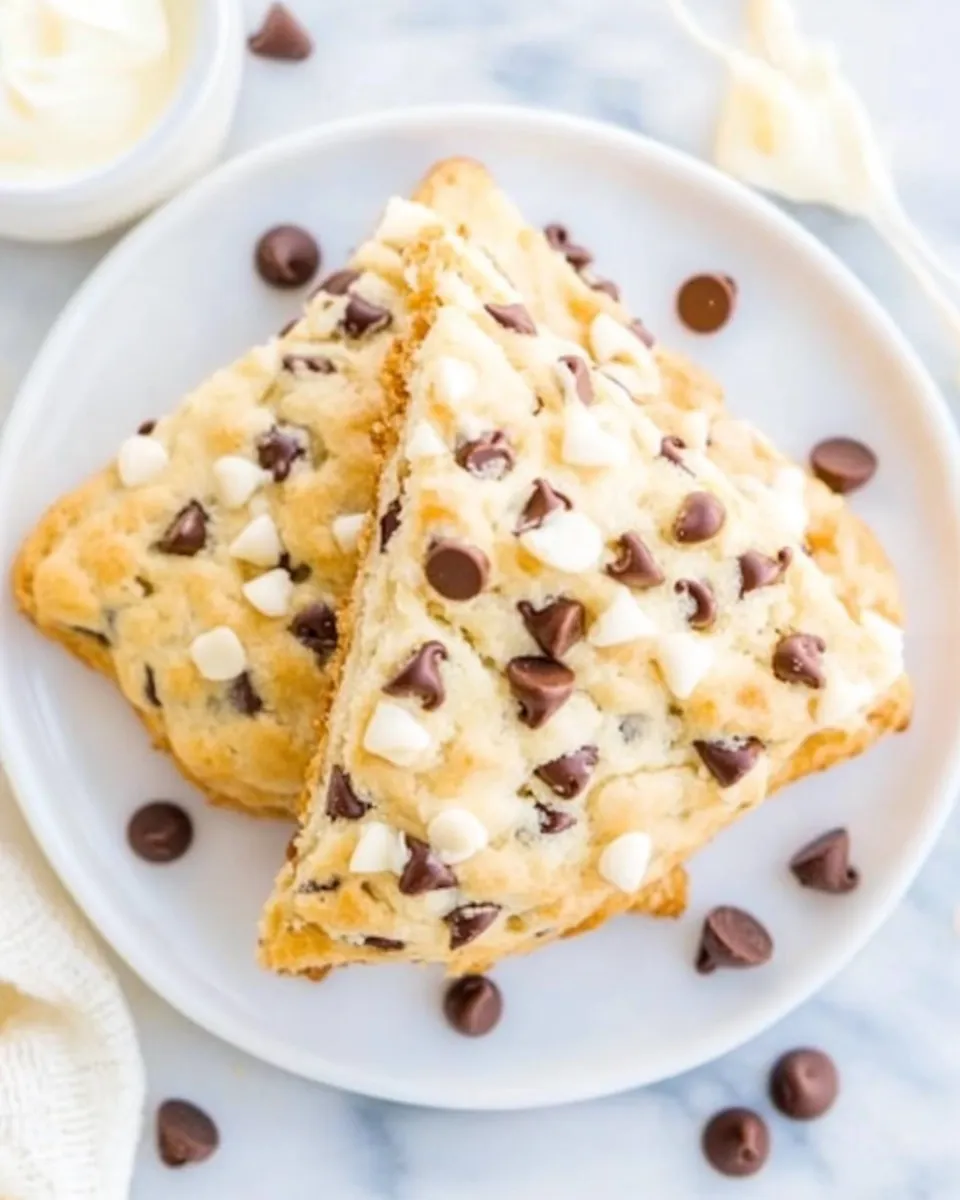
This chocolate chip scones recipe stands out for several reasons. First, it balances flavor and texture beautifully — the scones are rich and buttery, with just the right crumbly, flaky bite you want from a classic scone. The chocolate chips add bursts of sweetness without overpowering the subtle vanilla essence.
Another reason to love this recipe is its simplicity. With easy-to-find ingredients and clear, step-by-step instructions, anyone can bake these scones with confidence. Plus, they come together quickly, making them perfect for last-minute breakfast plans or weekend baking sessions.
Lastly, this recipe uses wholesome ingredients and avoids any that might be restricted, ensuring it’s suitable for a wide range of diets without compromising any of the deliciousness. If you’ve been craving that perfect bakery-style scone at home, this recipe will not disappoint.
Ingredients
- 2 ¾ cups all-purpose flour, plus extra for dusting
- 1/3 cup granulated sugar
- 1 tablespoon baking powder
- ½ teaspoon salt
- ¾ cup unsalted butter, cold and cut into small cubes
- ¾ cup whole milk (or any unsweetened plant-based milk)
- 1 large egg
- 1 ½ teaspoons pure vanilla extract
- 1 cup semi-sweet chocolate chips (ensure no alcohol-based ingredients)
- Optional: Turbinado sugar for sprinkling on top
How To Make Chocolate Chip Scones
Step 1: Preheat and Prepare
Start by preheating your oven to 400°F (200°C). Line a baking sheet with parchment paper or a silicone baking mat to prevent sticking and ensure even baking.
Step 2: Mix Dry Ingredients
In a large mixing bowl, whisk together the flour, granulated sugar, baking powder, and salt. This ensures your rising agents and seasoning are evenly distributed for consistent results.
Step 3: Cut in the Butter
Add the cold, cubed butter to the dry ingredients. Using a pastry cutter, two knives, or your fingertips, quickly work the butter into the flour mixture until it resembles coarse crumbs with some pea-sized pieces. The cold butter is key to flaky scones, so work quickly and avoid letting it melt.
Step 4: Combine Wet Ingredients
In a separate small bowl, beat the egg with the milk and vanilla extract until fully combined.
Step 5: Form the Dough
Make a well in the center of the dry ingredients and pour in the wet mixture. Using a wooden spoon or spatula, gently mix until the dough just comes together. It will be slightly sticky but should hold its shape. Avoid overmixing to keep the scones tender.
Step 6: Add Chocolate Chips
Fold in the chocolate chips gently, distributing them evenly without breaking them up.
Step 7: Shape the Scones
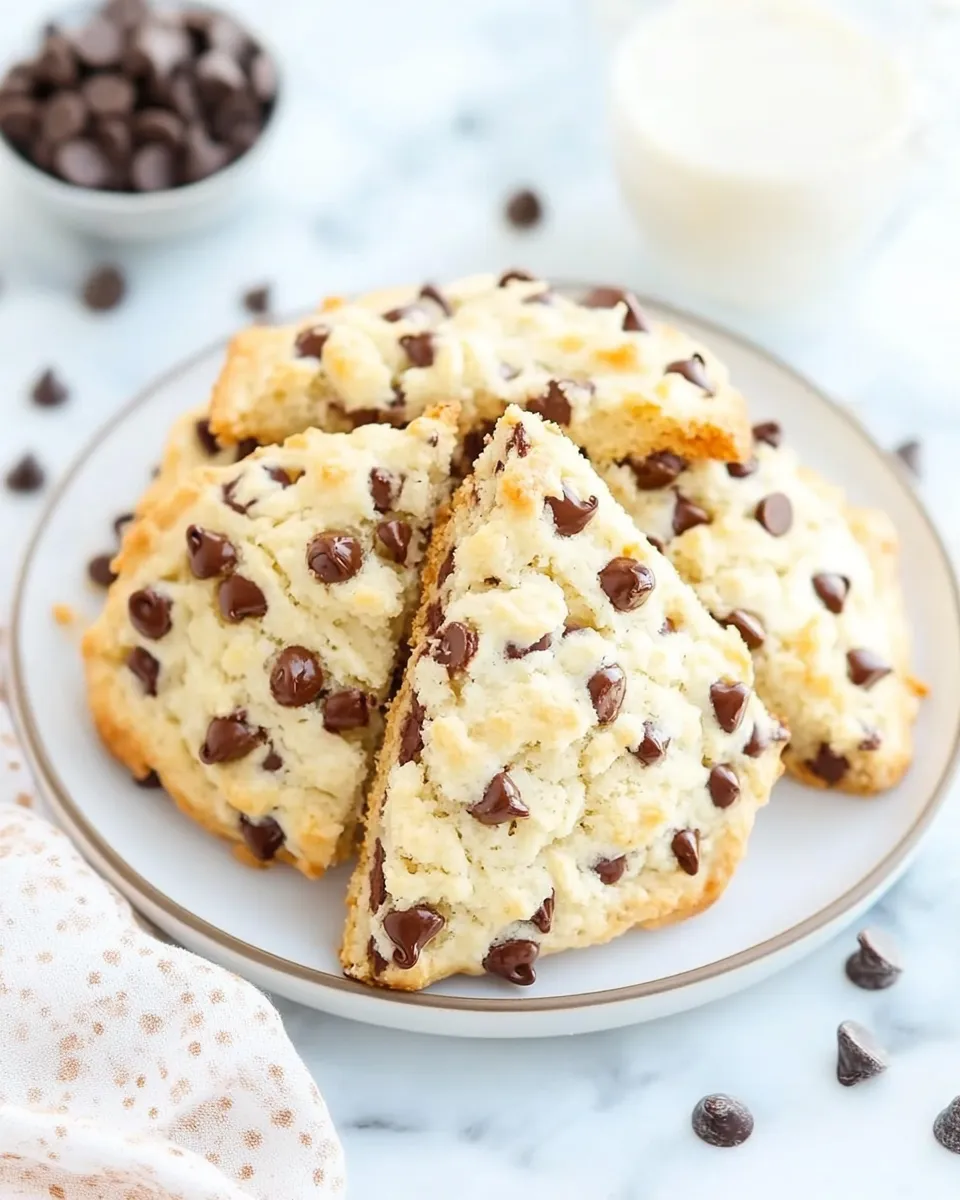
Turn the dough out onto a lightly floured surface. Using floured hands, pat the dough into a circle about 8 inches in diameter and 1-inch thick. For classic wedge-shaped scones, cut the circle into 8 equal pieces with a sharp knife. Alternatively, you can scoop dough rounds onto the baking sheet for round scones.
Step 8: Optional Sugar Sprinkle
If desired, sprinkle the tops with turbinado sugar for a sparkling, crunchy finish.
Step 9: Bake
Place the scones on your prepared baking sheet and bake for 15-18 minutes, or until they are golden brown on top and a toothpick inserted into the center comes out clean.
Step 10: Cool and Serve
Allow the scones to cool on the baking sheet for 5 minutes before transferring to a wire rack. Serve warm or at room temperature, perfect with a pat of butter, clotted cream, or your favorite spread.
Expert Tips

- Keep Butter Cold: This is the secret to flaky scones. Chill your butter and keep it cold throughout mixing.
- Don’t Overwork the Dough: Handle the dough as little as possible to avoid tough scones.
- Use Fresh Baking Powder: For the best rise, check that your baking powder is fresh and active.
- Customize Your Chocolate: Use high-quality chocolate chips or chunks for richer flavor.
- Rest the Dough: If time allows, refrigerate the dough for 20-30 minutes before baking to improve texture.
- Watch Baking Time Closely: Ovens vary, so start checking your scones at 15 minutes to avoid over-baking.
Variations and Customizations

- Fruit and Nut: Swap chocolate chips for dried cranberries and chopped pecans for a tart and crunchy twist.
- Orange Chocolate: Add orange zest to the dough and use dark chocolate chips for a citrusy, decadent flavor.
- Glazed Scones: Drizzle a simple glaze made with powdered sugar and milk after baking for extra sweetness.
- Spiced Scones: Add a teaspoon of cinnamon or pumpkin pie spice for cozy, warm notes.
- Vegan Option: Replace the egg with a flax egg (1 tablespoon ground flaxseed + 3 tablespoons water) and use plant-based milk and vegan butter alternatives.
How to Store Leftovers
To keep your scones fresh, store them in an airtight container at room temperature for up to 2 days. For longer storage, wrap each scone individually in plastic wrap or foil and place them in a resealable freezer bag. Freeze for up to 3 months. To enjoy, thaw at room temperature and warm briefly in the oven or microwave for that freshly baked experience.
FAQ
Can I use a different type of chocolate?
Absolutely! You can use milk chocolate, dark chocolate, or even white chocolate chips. Just make sure the chocolate you choose does not contain any ingredients you wish to avoid. Chopped chocolate bars work wonderfully for larger pockets of melty chocolate.
What if I don’t have buttermilk?
No buttermilk is needed in this recipe, but if you want to add a tangy flavor, you can substitute the milk with homemade buttermilk by mixing 1 tablespoon of lemon juice or vinegar with enough milk to equal ¾ cup. Let it sit for 5 minutes before using.
Can I make these scones ahead of time?
Yes! You can prepare the dough and shape the scones, then refrigerate the unbaked scones for up to 24 hours before baking. This can actually improve the texture. Just add a minute or two to the baking time if baking straight from the fridge.
How do I get my scones to be more tender?
Use cold butter and avoid overmixing the dough. Also, make sure to measure your flour accurately by spooning it into the measuring cup and leveling it off, rather than scooping directly from the bag, which can pack too much flour in.
Conclusion
These chocolate chip scones are a wonderful way to treat yourself and your loved ones to something special at any time of day. With their perfect balance of buttery richness, tender crumb, and sweet chocolate pockets, they’re a comforting and delightful baked good that’s surprisingly easy to make. Whether you enjoy them with morning coffee, afternoon tea, or as a sweet snack, they’re guaranteed to bring a smile to your face. Give this recipe a try, and soon you’ll have a fresh batch of bakery-worthy scones right in your own home — no special trip needed. Happy baking!

Chocolate Chip Scones
Ingredients
- 2 3/4 cups all-purpose flour plus extra for dusting
- 1/3 cup granulated sugar
- 1 tablespoon baking powder
- 1/2 teaspoon salt
- 3/4 cup unsalted butter cold and cut into small cubes
- 3/4 cup whole milk or any unsweetened plant-based milk
- 1 large egg
- 1 1/2 teaspoons pure vanilla extract
- 1 cup semi-sweet chocolate chips ensure no alcohol-based ingredients
- Turbinado sugar optional, for sprinkling on top
Instructions
- Preheat your oven to 400°F (200°C). Line a baking sheet with parchment paper or a silicone baking mat.
- In a large mixing bowl, whisk together the flour, granulated sugar, baking powder, and salt.
- Add the cold, cubed butter to the dry ingredients. Use a pastry cutter, two knives, or your fingertips to work the butter into the flour mixture until it resembles coarse crumbs with some pea-sized pieces.
- In a separate small bowl, beat the egg with the milk and vanilla extract until fully combined.
- Make a well in the center of the dry ingredients and pour in the wet mixture. Gently mix with a wooden spoon or spatula until the dough just comes together. Avoid overmixing.
- Fold in the chocolate chips gently, distributing them evenly.
- Turn the dough out onto a lightly floured surface. Pat the dough into a circle about 8 inches in diameter and 1-inch thick. Cut the circle into 8 equal wedges or scoop dough rounds for round scones.
- Optionally, sprinkle the tops with turbinado sugar for a sparkling, crunchy finish.
- Place the scones on the prepared baking sheet and bake for 15-18 minutes, or until golden brown and a toothpick inserted in the center comes out clean.
- Allow the scones to cool on the baking sheet for 5 minutes before transferring to a wire rack. Serve warm or at room temperature.
Equipment
- Oven
- Baking Sheet
- Parchment Paper
- Mixing Bowl
- Pastry Cutter
- Wooden Spoon
- Knife