There’s nothing quite like the comforting aroma of a warm brownie fresh from the oven. But what if you could enjoy that rich, chocolatey goodness in just minutes, without any fuss or mess? Enter the brownie in a mug—a quick, easy, and utterly delicious single-serving dessert that’s perfect for satisfying those sudden chocolate cravings. Whether you’re a busy student, a working professional, or just someone who loves a sweet treat on demand, this recipe is a game-changer. With simple ingredients you likely already have in your pantry and a microwave to speed things up, you’ll have a decadent brownie ready in no time. Let’s dive into why this mug brownie deserves a permanent spot in your recipe collection!
Why This Recipe Is a Must-Try
This brownie in a mug recipe stands out for several reasons. First, it’s incredibly fast—ready from start to finish in about five minutes. No need to heat up the oven or dirty multiple bowls. Second, it’s perfectly portioned, so you can indulge without any leftovers tempting you. Third, it’s made with wholesome ingredients that come together to create a soft, fudgy texture with a rich chocolate flavor that rivals traditional brownies. Finally, it’s highly customizable, making it easy to tailor to your taste preferences or dietary needs.
Whether you’re craving a quick dessert after dinner or looking for a solo treat during a snack break, this brownie in a mug is a surefire way to satisfy your sweet tooth with minimal effort.
Ingredients
- 3 tablespoons all-purpose flour
- 2 tablespoons granulated sugar
- 1 tablespoon unsweetened cocoa powder
- 1/8 teaspoon baking powder
- A pinch of salt
- 3 tablespoons milk (use any variety you prefer, such as cow’s milk or a plant-based alternative)
- 2 tablespoons vegetable oil (or melted coconut oil for a slight coconut flavor)
- 1/2 teaspoon vanilla extract
- 2 tablespoons chocolate chips or chopped -certified chocolate (optional but recommended)
How To Make Brownie in a Mug
Step 1: Mix the Dry Ingredients
In a microwave-safe mug (roughly 12 oz size), combine the flour, sugar, cocoa powder, baking powder, and salt. Use a fork or small whisk to stir everything together until well blended and there are no lumps.
Step 2: Add the Wet Ingredients
Pour in the milk, vegetable oil, and vanilla extract. Stir everything together until you get a smooth batter. Make sure to scrape the bottom and sides of the mug so that all the dry ingredients are fully incorporated.
Step 3: Stir in Chocolate Chips
Add the chocolate chips or chopped chocolate to the batter and give it a gentle stir. This will add gooey pockets of melted chocolate throughout the brownie.
Step 4: Microwave the Brownie
Place the mug in the microwave and cook on high for 60 to 70 seconds. Microwave ovens vary, so start checking at 60 seconds. The brownie should look set on top but still slightly moist. Avoid overcooking, as the brownie will continue to cook a little after you take it out.
Step 5: Cool and Enjoy
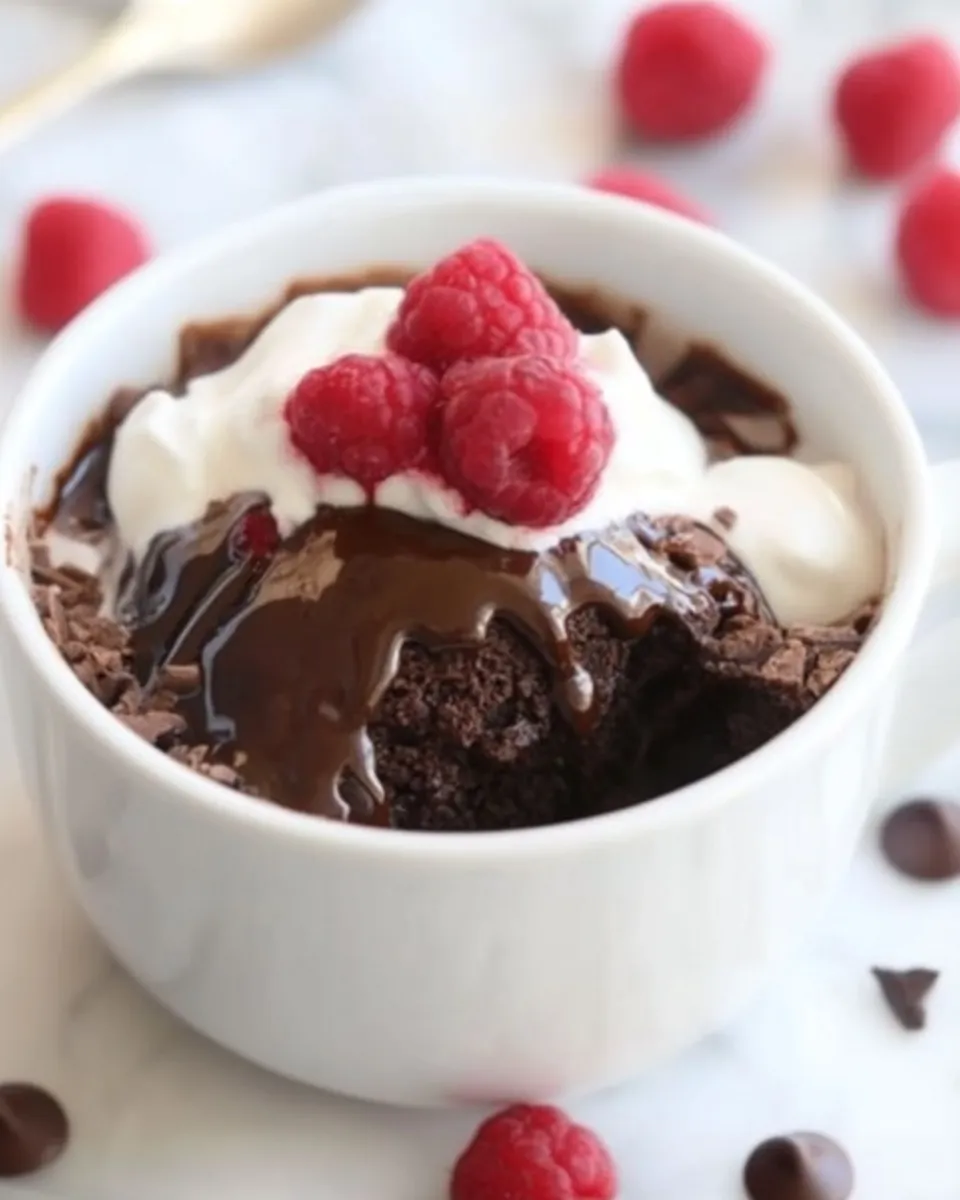
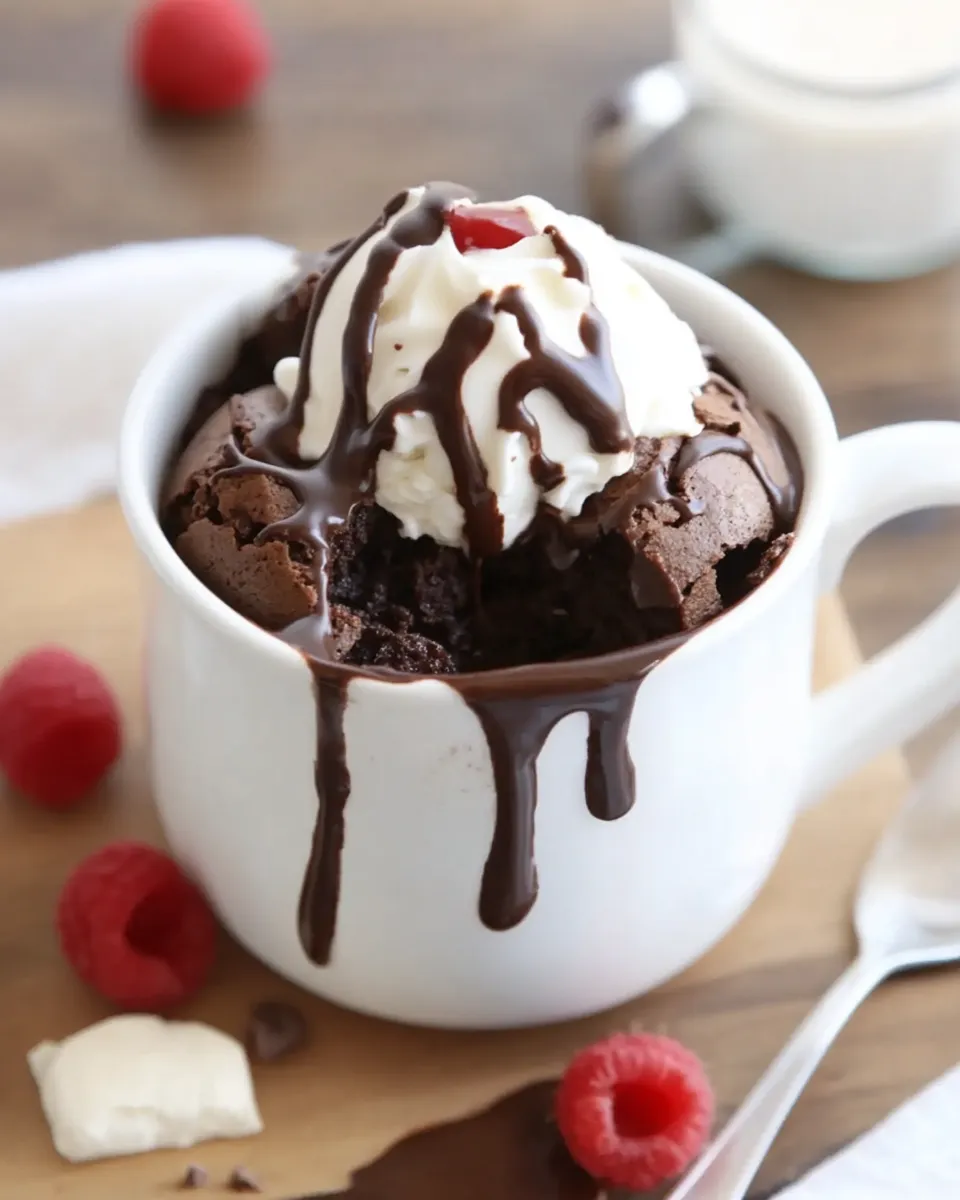
Let the mug brownie cool for a minute or two before digging in—it will be very hot right out of the microwave. You can enjoy it directly from the mug or transfer it to a plate. For an extra indulgence, top with a scoop of ice cream, a drizzle of caramel, or a dollop of whipped cream.
Expert Tips
- Use the right mug size: A mug that’s too small can cause batter to overflow in the microwave. A 12 oz mug works best.
- Don’t overmix: Stir just until combined to keep your brownie tender and avoid toughness.
- Adjust cooking time: Microwave power varies, so start with 60 seconds and add increments of 5-10 seconds if needed.
- Try different oils: Vegetable oil is neutral, but coconut or olive oil can add interesting flavor twists.
- Enhance with mix-ins: Nuts, dried fruit, or flavored extracts can add texture and complexity.
- For fudgier brownies: Use slightly less flour or add an extra tablespoon of cocoa powder.
Variations and Customizations
- Peanut Butter Swirl: Drop a teaspoon of peanut butter into the batter before microwaving and swirl gently with a toothpick.
- Mint Chocolate: Add a drop of peppermint extract to the batter and use mint chocolate chips.
- Nutty Delight: Mix in chopped walnuts, almonds, or pistachios for crunch.
- Spiced Brownie: Add a pinch of cinnamon or chili powder for warmth and a hint of heat.
- Vegan Version: Use plant-based milk and oil, and substitute sugar with coconut sugar or another vegan-friendly sweetener.
- Mocha Brownie: Stir in a teaspoon of instant coffee granules for a coffee-chocolate combo.
How to Store Leftovers
Since this recipe is designed as a single serving, leftovers are rare unless you double or triple the batch. If you do have extra brownie in a mug, cover the mug tightly with plastic wrap or transfer the brownie to an airtight container. Store it in the refrigerator for up to 2 days. To enjoy later, reheat in the microwave for about 20-30 seconds until warm, or let it come to room temperature and enjoy cold for a fudgy texture.
FAQ
Can I use gluten-free flour for this recipe?
Absolutely! You can substitute the all-purpose flour with a gluten-free flour blend. Just make sure it’s a 1:1 replacement and that it contains xanthan gum or another binder for best results.
What if I don’t have cocoa powder?
Cocoa powder is essential for that deep chocolate flavor. However, if you don’t have it, you can melt 1 tablespoon of chocolate and add it to the batter, reducing the sugar slightly since the chocolate will add sweetness.
Is it possible to bake the brownie in the oven instead of the microwave?
Yes! Pour the batter into a small oven-safe ramekin and bake at 350°F (175°C) for about 15-20 minutes, or until a toothpick inserted comes out with moist crumbs.
Can I make this recipe sugar-free?
Yes, you can use a sugar substitute that measures like sugar, such as erythritol or stevia blends. Keep in mind that the sweetness level and texture might vary slightly.
Conclusion
There you have it—a simple, quick, and utterly delightful brownie in a mug that satisfies your chocolate cravings in minutes. This recipe is perfect for those moments when you want to indulge without the hassle of baking an entire pan of brownies. With pantry-friendly ingredients, minimal cleanup, and plenty of opportunities for customization, it’s a versatile dessert that’s perfect for any chocolate lover. So next time you’re craving something sweet, give this brownie in a mug a try—you just might find your new favorite go-to dessert!

Brownie in a Mug
Ingredients
- 3 tablespoons all-purpose flour
- 2 tablespoons granulated sugar
- 1 tablespoon unsweetened cocoa powder
- 1/8 teaspoon baking powder
- a pinch salt
- 3 tablespoons milk use any variety you prefer, such as cow’s milk or a plant-based alternative
- 2 tablespoons vegetable oil or melted coconut oil for a slight coconut flavor
- 1/2 teaspoon vanilla extract
- 2 tablespoons chocolate chips or chopped -certified chocolate optional but recommended
Instructions
- In a microwave-safe mug (roughly 12 oz size), combine the flour, sugar, cocoa powder, baking powder, and salt. Use a fork or small whisk to stir everything together until well blended and there are no lumps.
- Pour in the milk, vegetable oil, and vanilla extract. Stir everything together until you get a smooth batter. Make sure to scrape the bottom and sides of the mug so that all the dry ingredients are fully incorporated.
- Add the chocolate chips or chopped chocolate to the batter and give it a gentle stir. This will add gooey pockets of melted chocolate throughout the brownie.
- Place the mug in the microwave and cook on high for 60 to 70 seconds. Microwave ovens vary, so start checking at 60 seconds. The brownie should look set on top but still slightly moist. Avoid overcooking, as the brownie will continue to cook a little after you take it out.
- Let the mug brownie cool for a minute or two before digging in—it will be very hot right out of the microwave. You can enjoy it directly from the mug or transfer it to a plate. For an extra indulgence, top with a scoop of ice cream, a drizzle of caramel, or a dollop of whipped cream.
Equipment
- Microwave-safe mug
- Fork or small whisk
- Microwave