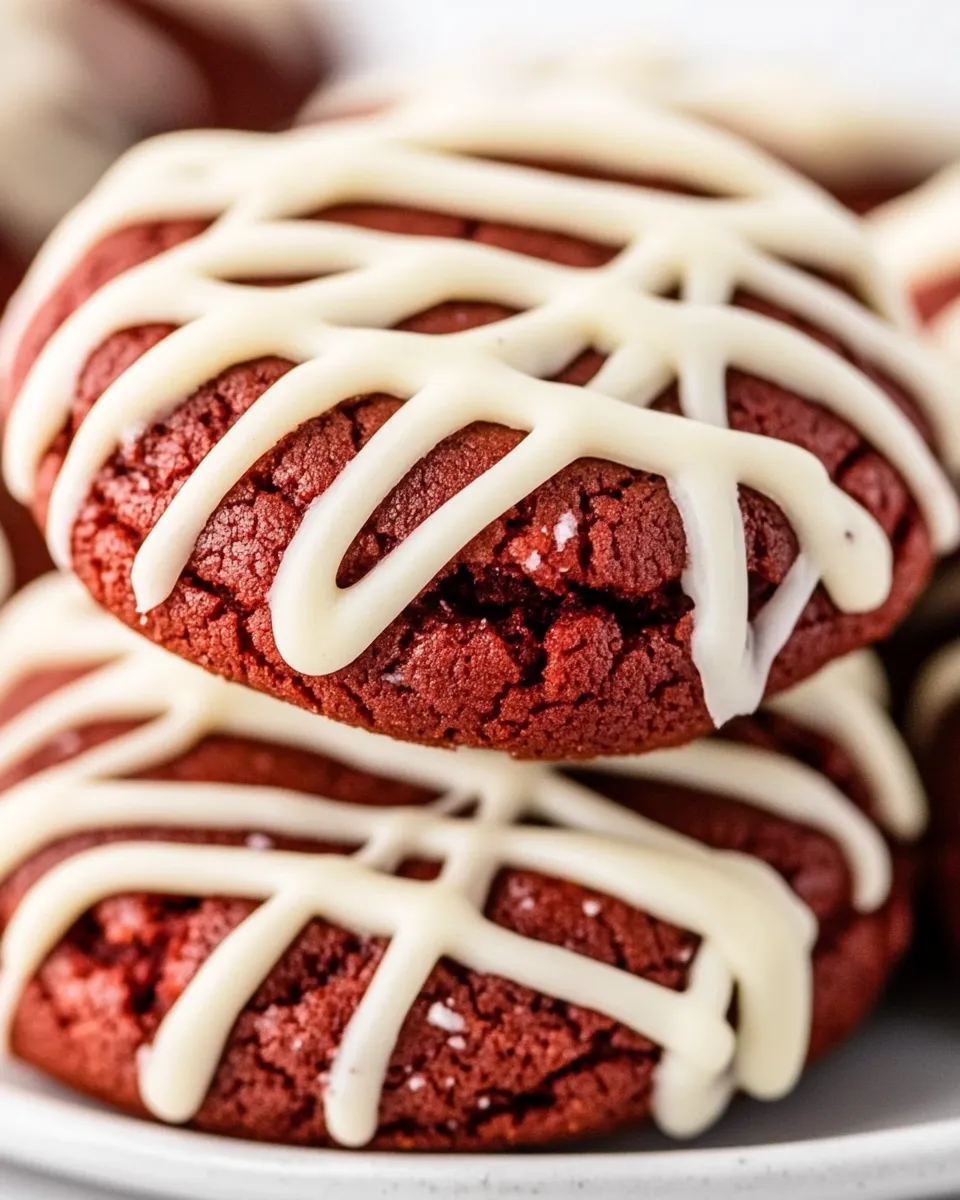
Red velvet is a classic dessert flavor that instantly brings to mind rich chocolate and a touch of tangy delight. While red velvet cake is a beloved staple, red velvet cookies offer a fun and portable twist on this favorite. These cookies are soft, chewy, and beautifully vibrant, making them perfect for sharing with friends or indulging in a sweet treat anytime. Whether you’re a seasoned baker or trying your hand at cookies for the first time, this red velvet cookie recipe will quickly become a go-to in your baking repertoire.
Why This Recipe Is a Must-Try
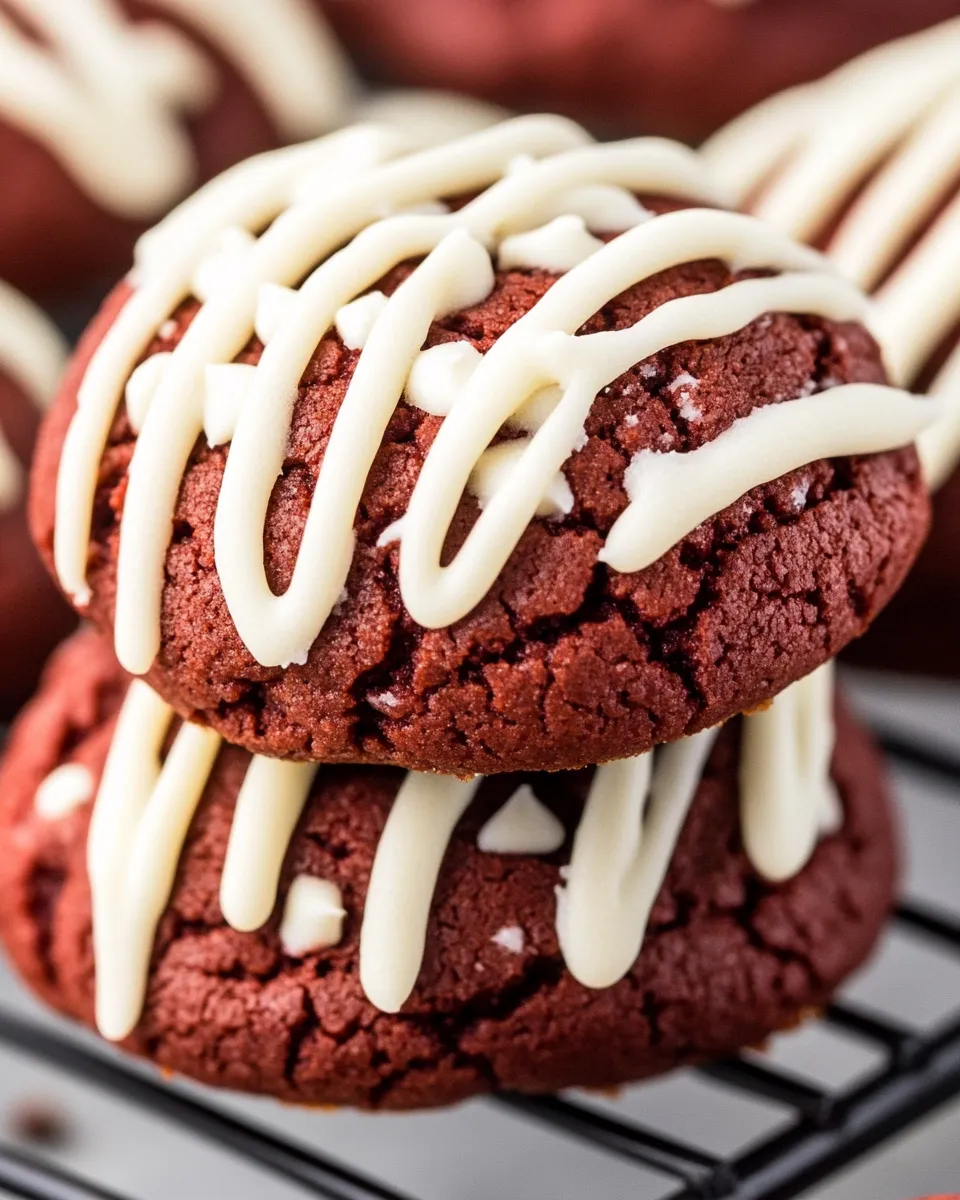
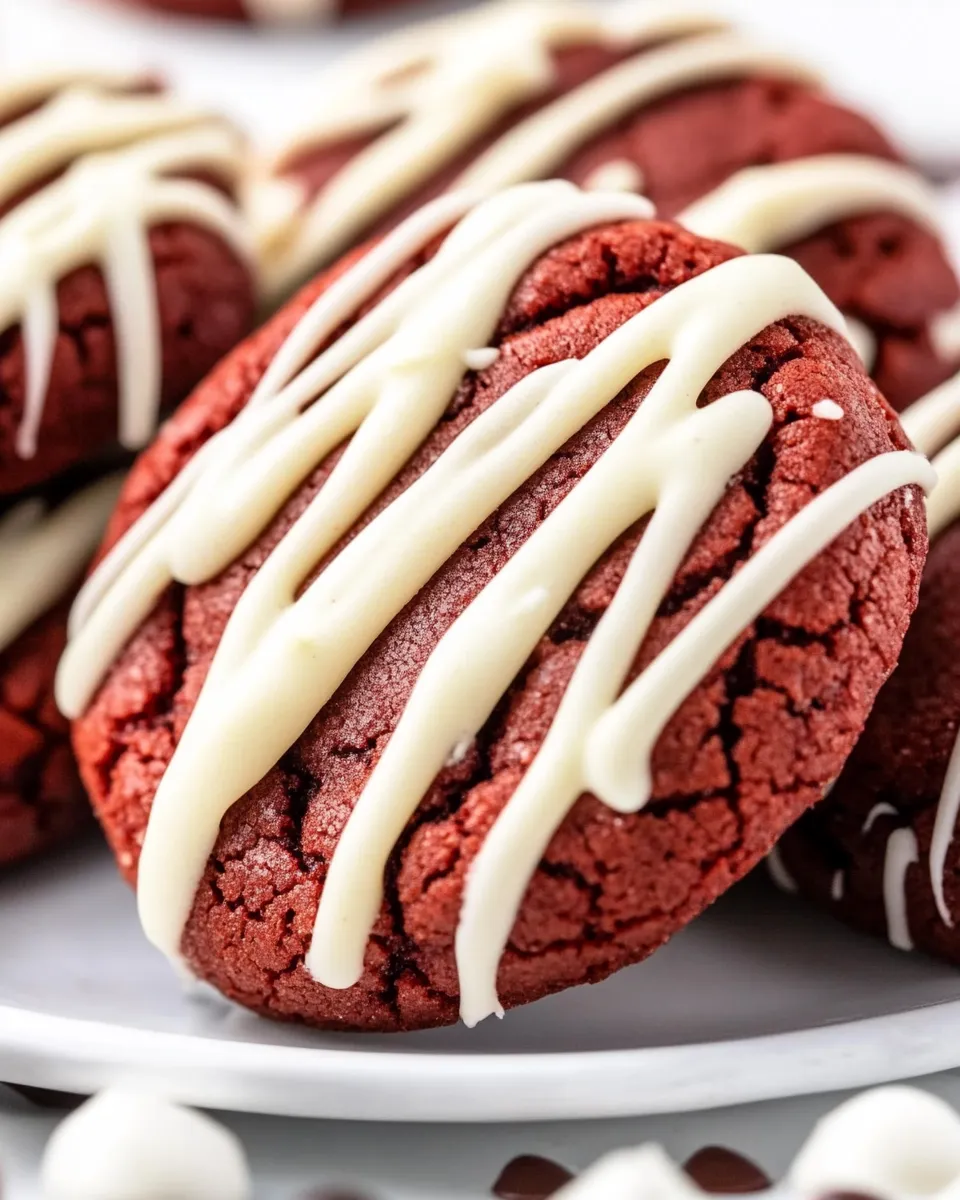
Red velvet cookies combine the best of two worlds: the deep cocoa flavor and subtle tang of traditional red velvet cake, paired with the chewy, soft texture of a cookie. Unlike cakey desserts that require slicing and plating, these cookies are individually portioned and easy to enjoy on the go. They offer a unique visual appeal with their colorful red hue and white chocolate chips or cream cheese bits that create delightful bursts of flavor. Plus, this recipe uses simple ingredients you likely have in your pantry, and the process is straightforward, making it approachable for bakers of all skill levels.
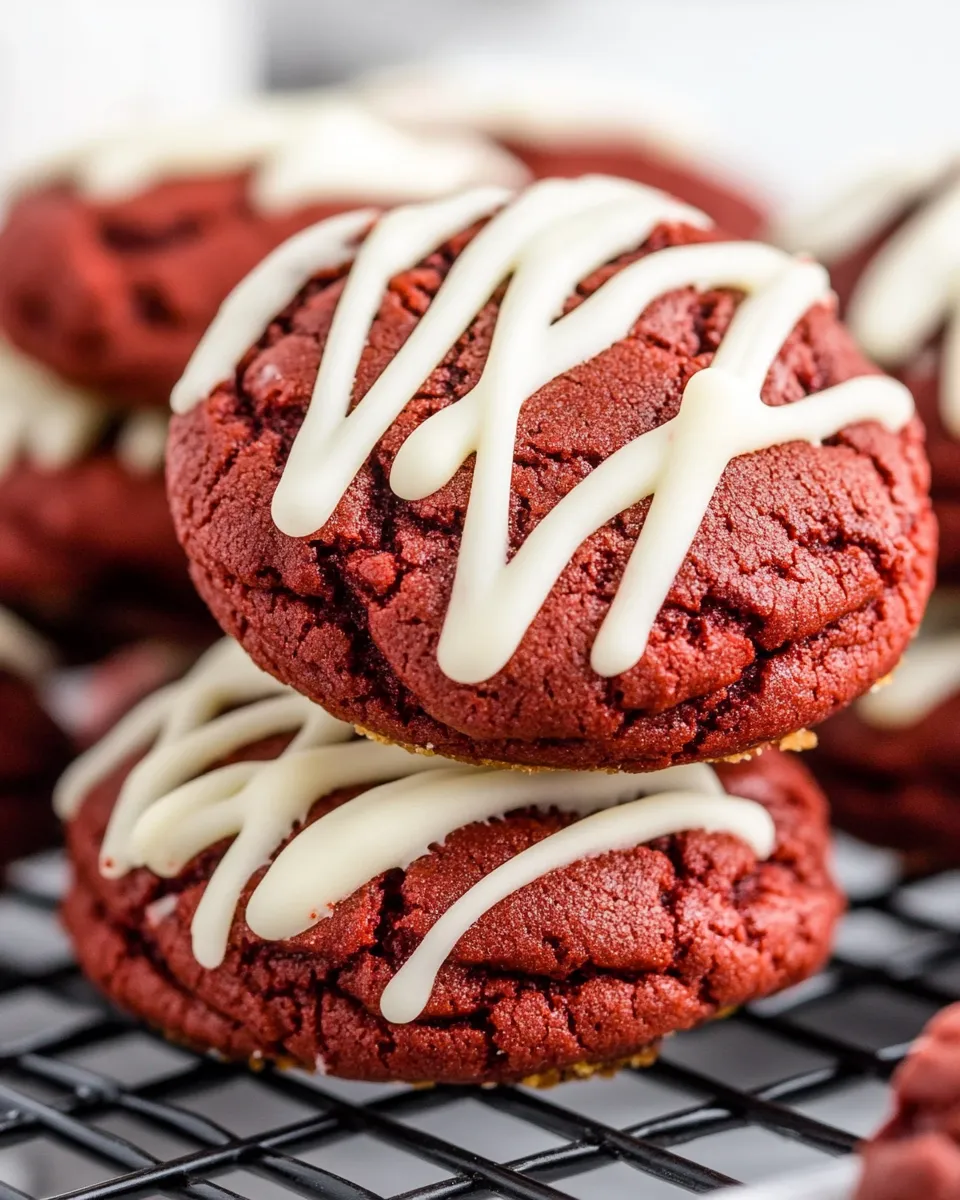
The best part? These cookies stay soft for days, so you can savor their moist texture long after baking. They also make an excellent homemade gift for holidays, parties, or just because. If you love red velvet cake or are looking to try something new with cookies, this recipe is an absolute must-try.
Ingredients
- 1 1/4 cups all-purpose flour
- 1 tablespoon unsweetened cocoa powder
- 1/2 teaspoon baking soda
- 1/4 teaspoon salt
- 1/2 cup unsalted butter, softened
- 3/4 cup granulated sugar
- 1 large egg
- 1 tablespoon white vinegar
- 2 teaspoons vanilla extract
- 1 tablespoon red food coloring (natural or your preferred brand)
- 1 cup white chocolate chips or white chocolate chunks
- Optional: 1/2 cup chopped nuts (such as walnuts or pecans)
How To Make Red Velvet Cookies
Step 1: Prepare Your Dry Ingredients
In a medium-sized bowl, whisk together the all-purpose flour, unsweetened cocoa powder, baking soda, and salt. Mixing these ingredients first ensures even distribution of the cocoa and leavening agents, which helps your cookies achieve the perfect texture.
Step 2: Cream the Butter and Sugar
In a large mixing bowl, use an electric mixer to beat the softened butter and granulated sugar together until the mixture is light and fluffy. This usually takes about 3-4 minutes on medium speed. Properly creamed butter and sugar create the ideal base for soft and tender cookies.
Step 3: Add the Wet Ingredients
Add the egg, white vinegar, vanilla extract, and red food coloring to the butter-sugar mixture. Beat everything together until fully combined and the dough turns a vibrant red color. The vinegar reacts with the baking soda to give the characteristic tang and help with the rise.
Step 4: Combine Wet and Dry Ingredients
Gradually add the dry ingredients to the wet ingredients, mixing on low speed just until everything is incorporated. Be careful not to overmix, as this can lead to tougher cookies.
Step 5: Fold in White Chocolate Chips and Nuts
Use a spatula to fold in the white chocolate chips and optional nuts evenly throughout the dough. These add texture and bursts of sweet, creamy flavor that complement the red velvet base perfectly.
Step 6: Chill the Dough
For best results, cover the dough with plastic wrap and chill it in the refrigerator for at least 1 hour. Chilling helps the dough firm up, making it easier to handle and helps the flavors meld together.
Step 7: Preheat Oven and Prepare Baking Sheet
Preheat your oven to 350°F (175°C). Line a baking sheet with parchment paper or a silicone baking mat to prevent sticking and promote even baking.
Step 8: Scoop and Bake
Using a cookie scoop or tablespoon, drop rounded spoonfuls of dough onto the prepared baking sheet, spacing them about 2 inches apart to allow for spreading. Bake for 10-12 minutes, or until the edges are set but the centers remain soft.
Step 9: Cool and Enjoy
Allow the cookies to cool on the baking sheet for 5 minutes before transferring them to a wire rack to cool completely. These cookies are delicious warm but also hold their softness once cooled.
Expert Tips
- Use room temperature butter: Softened butter creams better with sugar, creating a lighter dough and softer cookies.
- Don’t skip chilling the dough: It prevents excessive spreading and helps deepen the flavor.
- Measure flour correctly: Spoon flour into your measuring cup and level it off with a knife to avoid dense cookies.
- Adjust baking time for chewy vs. cakey: Bake towards the lower end of the time for chewier cookies, and a bit longer for cakier texture.
- Use natural or food-safe coloring: Ensure the red food coloring is safe and meets your dietary preferences.
- Let cookies cool on the sheet briefly: They continue to set as they cool, so don’t remove them too early to avoid breaking.
Variations and Customizations
- Swap white chocolate chips for cream cheese chips: Adds a tangy creaminess that pairs beautifully with red velvet.
- Add a sprinkle of sea salt: Enhances the chocolate flavor and balances the sweetness.
- Mix in dried cranberries or cherries: Introduces a tart fruitiness that complements the rich cocoa.
- Top with a drizzle of melted white chocolate: For an elegant finishing touch.
- Use dairy-free butter and vegan white chocolate chips: For a dairy-free or plant-based version of these cookies.
- Make sandwich cookies: Spread cream cheese frosting or your favorite frosting between two cookies for a decadent treat.
How to Store Leftovers
Store your red velvet cookies in an airtight container at room temperature for up to 5 days. To keep them soft, place a slice of bread in the container with the cookies—it helps maintain moisture without making them soggy. For longer storage, freeze the cookies in a single layer on a baking sheet, then transfer them to a freezer-safe container or bag. They’ll keep well in the freezer for up to 3 months. When ready to enjoy, thaw at room temperature or warm them for a few seconds in the microwave for a freshly baked feel.
FAQ
Can I use regular cocoa powder instead of unsweetened cocoa powder?
It’s best to use unsweetened cocoa powder for this recipe as it provides the rich chocolate flavor without additional sweetness. Using sweetened cocoa powder may alter the taste and texture, making the cookies too sweet or dense.
Is it necessary to use vinegar in red velvet cookies?
Yes, vinegar reacts with the baking soda to create a slight tanginess and helps develop the characteristic red velvet flavor and tender texture. You can use white vinegar or apple cider vinegar as alternatives.
Can I make these cookies gluten-free?
Absolutely! Substitute the all-purpose flour with a 1-to-1 gluten-free baking flour blend. Make sure the blend contains xanthan gum or add a small amount if it doesn’t, to help with texture and binding.
How do I prevent my red velvet cookies from spreading too much?
Chilling the dough before baking is key to preventing excessive spreading. Also, make sure to measure your flour accurately and avoid using melted butter, which can cause the dough to be too loose.
Conclusion
Red velvet cookies are a delightful and colorful twist on a classic flavor that’s sure to brighten up any baking day. Soft, chewy, and packed with rich cocoa and creamy white chocolate, these cookies are perfect for sharing or savoring solo. With simple ingredients and straightforward steps, this recipe fits perfectly into any baker’s rotation. Whether you stick to the traditional recipe or try some of the tasty variations, you’re in for a treat that’s as visually stunning as it is delicious. Happy baking!

Red Velvet Cookies
Ingredients
- 1 1/4 cups all-purpose flour
- 1 tablespoon unsweetened cocoa powder
- 1/2 teaspoon baking soda
- 1/4 teaspoon salt
- 1/2 cup unsalted butter softened
- 3/4 cup granulated sugar
- 1 large egg
- 1 tablespoon white vinegar
- 2 teaspoons vanilla extract
- 1 tablespoon red food coloring (natural or your preferred brand)
- 1 cup white chocolate chips or white chocolate chunks
- 1/2 cup chopped nuts (such as walnuts or pecans) (optional)
Instructions
- In a medium-sized bowl, whisk together the all-purpose flour, unsweetened cocoa powder, baking soda, and salt. Mixing these ingredients first ensures even distribution of the cocoa and leavening agents, which helps your cookies achieve the perfect texture.
- In a large mixing bowl, use an electric mixer to beat the softened butter and granulated sugar together until the mixture is light and fluffy, about 3-4 minutes on medium speed. Properly creamed butter and sugar create the ideal base for soft and tender cookies.
- Add the egg, white vinegar, vanilla extract, and red food coloring to the butter-sugar mixture. Beat everything together until fully combined and the dough turns a vibrant red color. The vinegar reacts with the baking soda to give the characteristic tang and help with the rise.
- Gradually add the dry ingredients to the wet ingredients, mixing on low speed just until everything is incorporated. Be careful not to overmix, as this can lead to tougher cookies.
- Use a spatula to fold in the white chocolate chips and optional nuts evenly throughout the dough. These add texture and bursts of sweet, creamy flavor that complement the red velvet base perfectly.
- For best results, cover the dough with plastic wrap and chill it in the refrigerator for at least 1 hour. Chilling helps the dough firm up, making it easier to handle and helps the flavors meld together.
- Preheat your oven to 350°F (175°C). Line a baking sheet with parchment paper or a silicone baking mat to prevent sticking and promote even baking.
- Using a cookie scoop or tablespoon, drop rounded spoonfuls of dough onto the prepared baking sheet, spacing them about 2 inches apart to allow for spreading. Bake for 10-12 minutes, or until the edges are set but the centers remain soft.
- Allow the cookies to cool on the baking sheet for 5 minutes before transferring them to a wire rack to cool completely. These cookies are delicious warm but also hold their softness once cooled.
Equipment
- Medium-sized bowl
- Large Mixing Bowl
- Electric Mixer
- Spatula
- Plastic Wrap
- Baking Sheet
- Parchment paper or silicone baking mat
- Cookie scoop or tablespoon
- Wire Rack