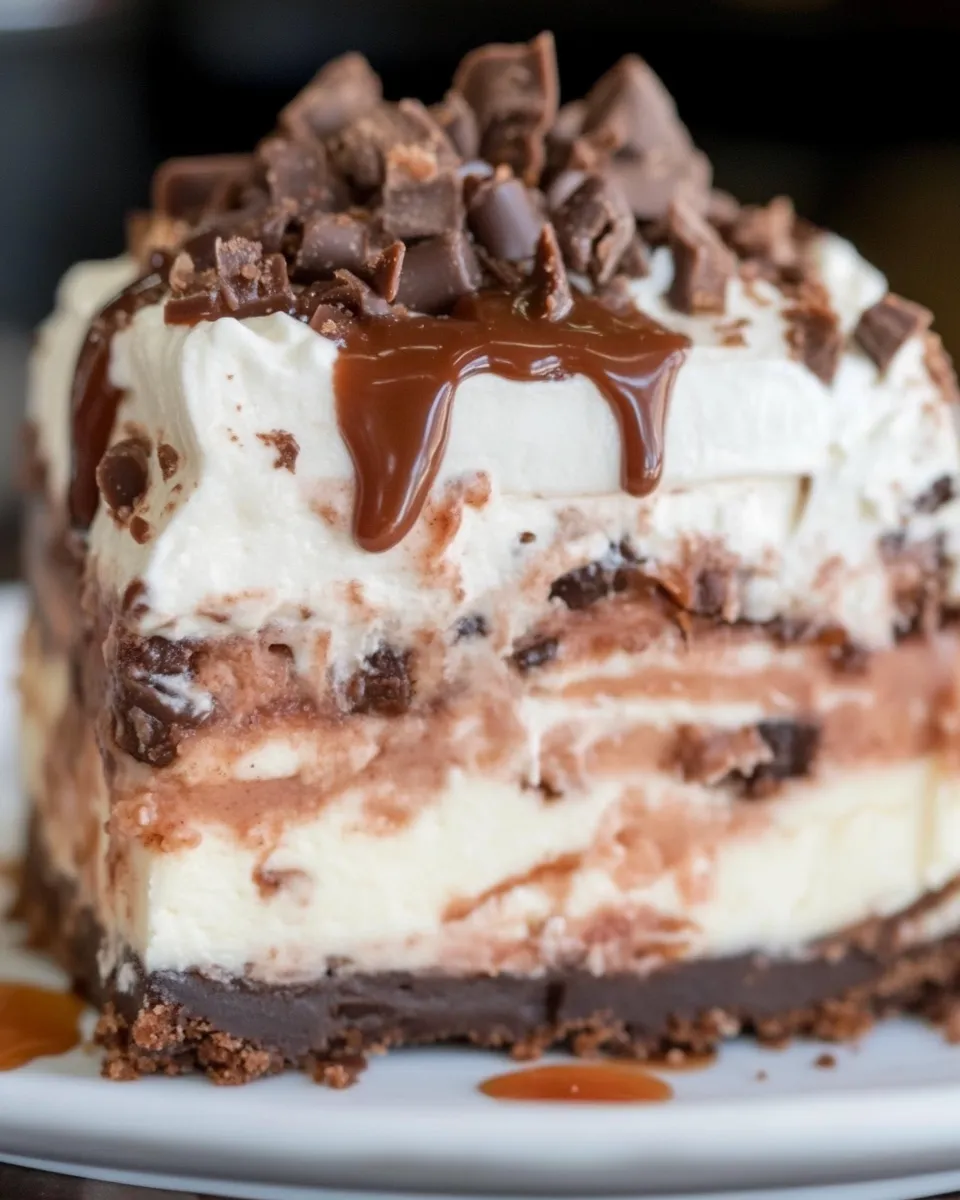
If you’re a chocolate lover, then Mississippi Mud Pie is a dessert that you absolutely must try. This indulgent treat is known for its rich layers of chocolate, creamy filling, and a crunchy crust that all come together to create a dessert experience that’s as decadent as it is satisfying. Originating from the southern United States, this pie has become a beloved classic for good reason. Whether you’re serving it at a family gathering, a holiday celebration, or just craving something sweet and comforting, Mississippi Mud Pie delivers on flavor and texture with every bite.
Why This Recipe Is a Must-Try
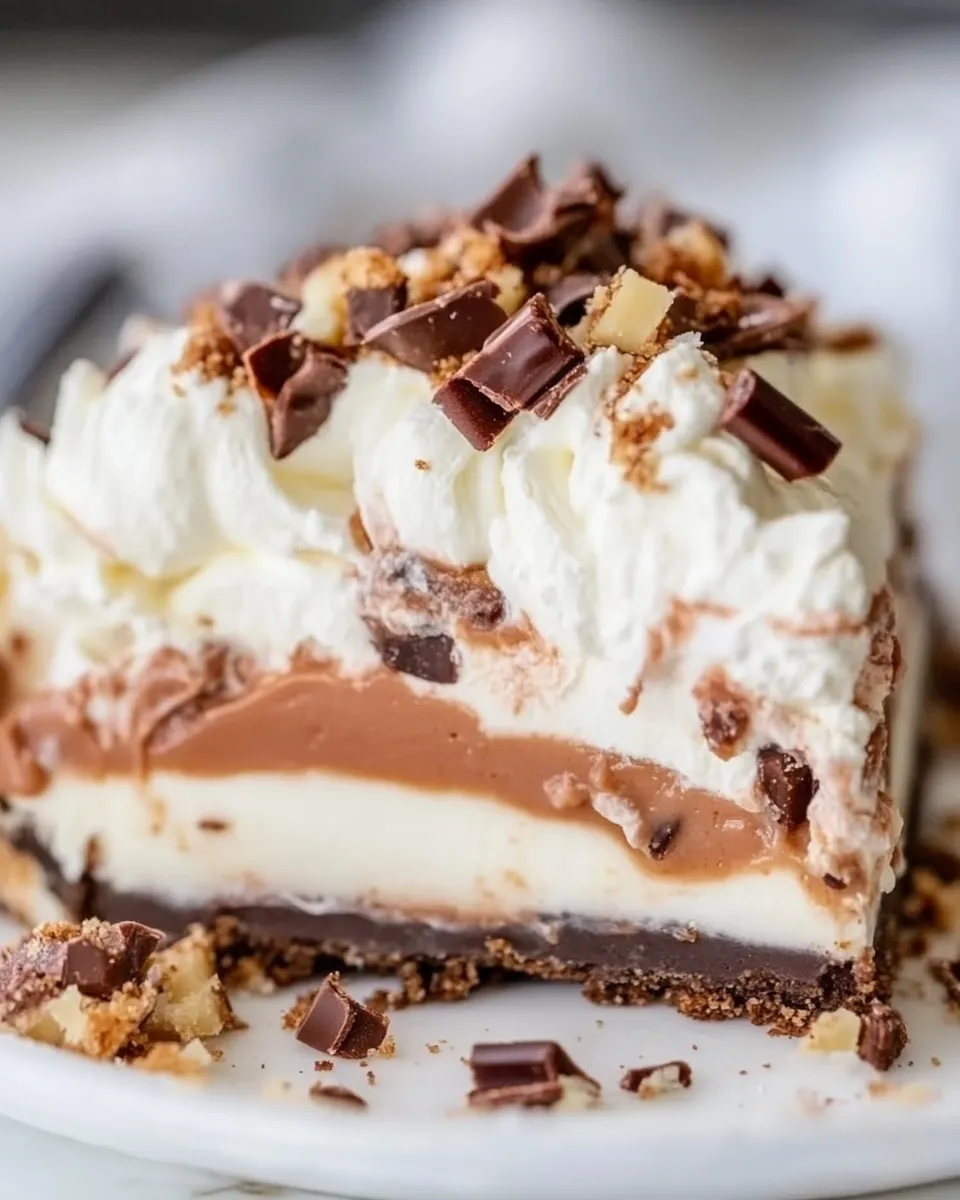
Mississippi Mud Pie is a perfect combination of textures and flavors that will delight any dessert lover. The crust provides a delightful crunch, the filling is luxuriously creamy, and the topping adds a luscious chocolate finish. Not only is this pie incredibly delicious, but it’s also straightforward enough to make at home, requiring no special equipment or baking skills. Plus, it’s versatile—you can customize it with nuts, marshmallows, or whipped cream to suit your tastes. This recipe uses simple, accessible ingredients that come together quickly to create a show-stopping dessert.
Ingredients
- 1 ½ cups chocolate cookie crumbs (ensure the cookies are free from any non-permissible ingredients)
- 6 tablespoons unsalted butter, melted
- 1 cup semisweet chocolate chips
- ½ cup heavy cream
- 1 cup granulated sugar
- 3 large eggs
- 1 teaspoon vanilla extract
- 1 cup chopped pecans or walnuts (optional)
- 1 cup mini marshmallows (optional)
- 1 cup sour cream
- Whipped cream, for topping
- Additional chocolate shavings or cocoa powder, for garnish
How To Make Mississippi Mud Pie
Step 1: Prepare the Crust
Start by preheating your oven to 350°F (175°C). In a medium bowl, combine the chocolate cookie crumbs and melted butter. Mix until the crumbs are evenly coated and resemble wet sand. Press this mixture firmly into the bottom and up the sides of a 9-inch pie dish to form the crust. Bake the crust for about 8-10 minutes, then remove it from the oven and let it cool completely.
Step 2: Make the Chocolate Filling
In a small saucepan, heat the heavy cream over medium heat until it just begins to simmer. Remove from heat and add the chocolate chips. Let sit for a minute, then stir until smooth and glossy. In a separate bowl, whisk the sugar and eggs together until well combined. Slowly pour the chocolate mixture into the egg mixture, stirring constantly to prevent the eggs from cooking. Add the vanilla extract and mix well.
Step 3: Assemble and Bake the Pie
Pour the chocolate filling into the cooled crust. If you’re using nuts or mini marshmallows, sprinkle them over the top now. Bake the pie for about 25-30 minutes, or until the filling is set but still slightly jiggly in the center.
Step 4: Add the Sour Cream Layer
While the pie is baking, whisk the sour cream with a tablespoon of sugar (optional) until smooth. Once the pie comes out of the oven, immediately spread the sour cream mixture evenly over the top of the warm filling. Return the pie to the oven for an additional 5 minutes. This layer adds a lovely tang that balances the richness of the chocolate.
Step 5: Chill and Serve
Allow the pie to cool to room temperature, then refrigerate for at least 3 hours or overnight to let it set properly. Before serving, top with whipped cream and garnish with chocolate shavings or a light dusting of cocoa powder for an extra special touch.
Expert Tips
- Use good-quality chocolate for the best flavor and texture.
- Make sure not to overbake the pie; the center should be slightly jiggly to keep it creamy.
- Press the crust firmly into the pan to prevent crumbling when slicing.
- Allow the pie to chill fully for clean, neat slices.
- For a nut-free version, simply omit the nuts or substitute with chocolate chips or dried fruit.
- Use pasteurized eggs or egg substitutes if you prefer to avoid raw eggs in the filling.
Variations and Customizations
- Nutty Delight: Add chopped pecans, walnuts, or almonds to the crust or on top of the filling before baking.
- Marshmallow Topping: Mix mini marshmallows into the filling or sprinkle on top before baking for a gooey texture.
- Mocha Twist: Add a tablespoon of instant coffee granules to the chocolate filling for a subtle coffee flavor.
- Vegan Version: Use coconut cream instead of heavy cream, vegan chocolate chips, and a flaxseed egg substitute.
- Peanut Butter Swirl: Swirl in some peanut butter into the chocolate filling before baking for a rich, nutty flavor.
- Fruit Garnish: Top with fresh berries or a drizzle of raspberry sauce for a fresh contrast.
How to Store Leftovers
To keep your Mississippi Mud Pie fresh, cover it tightly with plastic wrap or aluminum foil and store it in the refrigerator. It will stay fresh for up to 4 days. For longer storage, you can freeze the pie by wrapping it well and placing it in a freezer-safe container. Thaw it overnight in the refrigerator before serving. Avoid freezing the whipped cream topping—add fresh whipped cream after thawing for best results.
FAQ
Can I make Mississippi Mud Pie ahead of time?
Absolutely! In fact, the pie tastes even better after chilling overnight as the flavors have more time to meld and the texture firms up perfectly.
Is it possible to make this pie without eggs?
Yes, you can substitute eggs with a commercial egg replacer or use a mixture of ground flaxseed and water. Keep in mind that the texture might be slightly different but still delicious.
Can I use a different crust for this pie?
Yes, you can use a graham cracker crust or even a homemade pastry crust if you prefer. The chocolate cookie crust, however, adds an extra layer of chocolate flavor and texture that complements the filling beautifully.
What can I use instead of heavy cream?
You can substitute heavy cream with full-fat coconut milk or cream for a dairy-free alternative. Just be sure to use the thick part from the top of the can for the best texture.
Conclusion
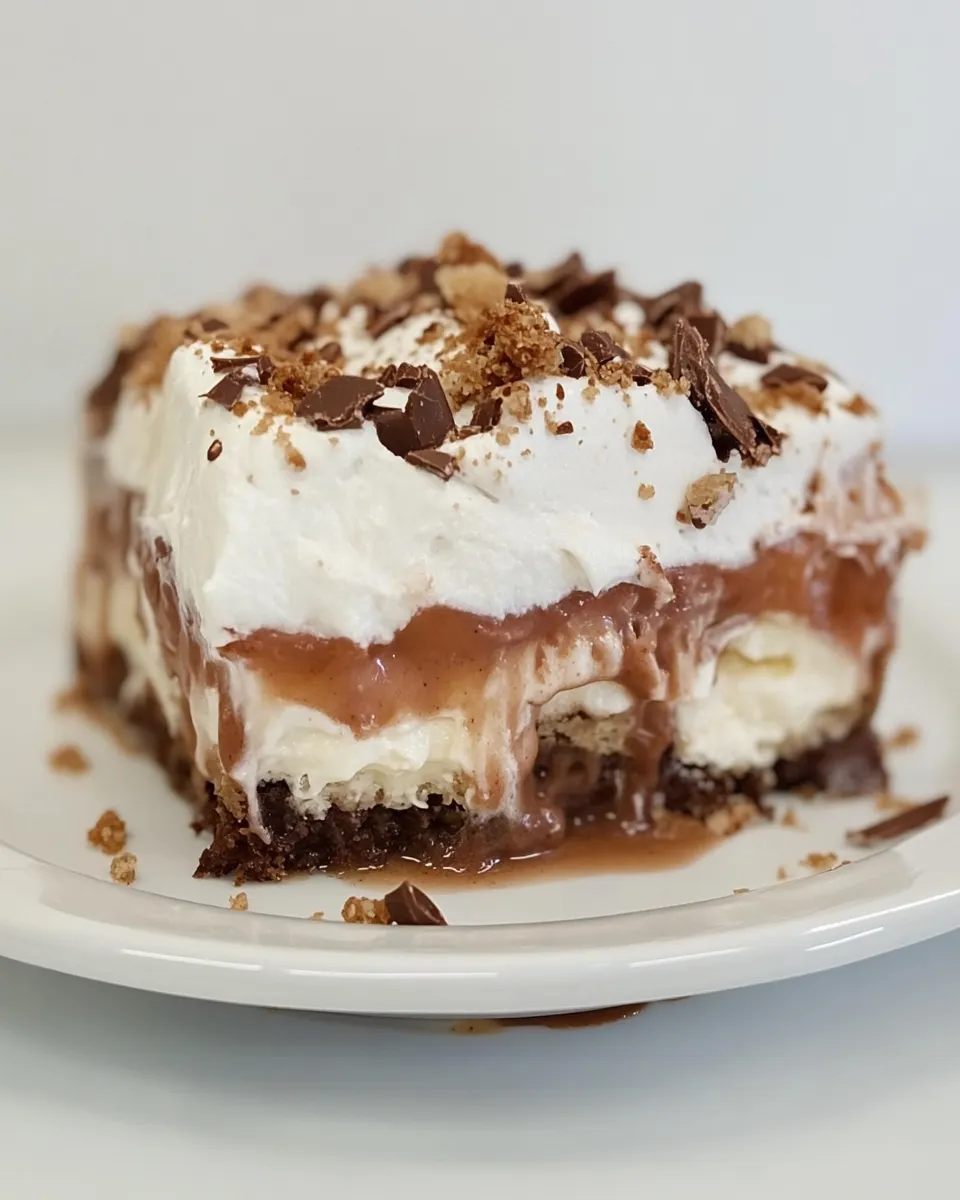
Mississippi Mud Pie is a luscious, chocolatey dessert that’s perfect for any occasion. Its combination of crunchy crust, creamy chocolate filling, and a light layer of tangy sour cream makes it a crowd-pleaser every time. The recipe is straightforward, uses simple ingredients, and offers plenty of room for customization to suit your tastes. Whether you’re making it for a special event or just to satisfy your sweet tooth, this pie is sure to impress and delight. So grab your ingredients, follow these easy steps, and enjoy a slice of southern chocolate heaven!

Mississippi Mud Pie
Ingredients
- 1 ½ cups chocolate cookie crumbs ensure the cookies are free from any non-permissible ingredients
- 6 tablespoons unsalted butter melted
- 1 cup semisweet chocolate chips
- ½ cup heavy cream
- 1 cup granulated sugar
- 3 large eggs
- 1 teaspoon vanilla extract
- 1 cup chopped pecans or walnuts optional
- 1 cup mini marshmallows optional
- 1 cup sour cream
- Whipped cream for topping
- Additional chocolate shavings or cocoa powder for garnish
Instructions
Prepare the Crust
- Start by preheating your oven to 350°F (175°C). In a medium bowl, combine the chocolate cookie crumbs and melted butter. Mix until the crumbs are evenly coated and resemble wet sand. Press this mixture firmly into the bottom and up the sides of a 9-inch pie dish to form the crust. Bake the crust for about 8-10 minutes, then remove it from the oven and let it cool completely.
Make the Chocolate Filling
- In a small saucepan, heat the heavy cream over medium heat until it just begins to simmer. Remove from heat and add the chocolate chips. Let sit for a minute, then stir until smooth and glossy. In a separate bowl, whisk the sugar and eggs together until well combined. Slowly pour the chocolate mixture into the egg mixture, stirring constantly to prevent the eggs from cooking. Add the vanilla extract and mix well.
Assemble and Bake the Pie
- Pour the chocolate filling into the cooled crust. If you’re using nuts or mini marshmallows, sprinkle them over the top now. Bake the pie for about 25-30 minutes, or until the filling is set but still slightly jiggly in the center.
Add the Sour Cream Layer
- While the pie is baking, whisk the sour cream with a tablespoon of sugar (optional) until smooth. Once the pie comes out of the oven, immediately spread the sour cream mixture evenly over the top of the warm filling. Return the pie to the oven for an additional 5 minutes. This layer adds a lovely tang that balances the richness of the chocolate.
Chill and Serve
- Allow the pie to cool to room temperature, then refrigerate for at least 3 hours or overnight to let it set properly. Before serving, top with whipped cream and garnish with chocolate shavings or a light dusting of cocoa powder for an extra special touch.
Equipment
- 9-inch pie dish
- Medium Bowl
- Small Saucepan
- Whisk