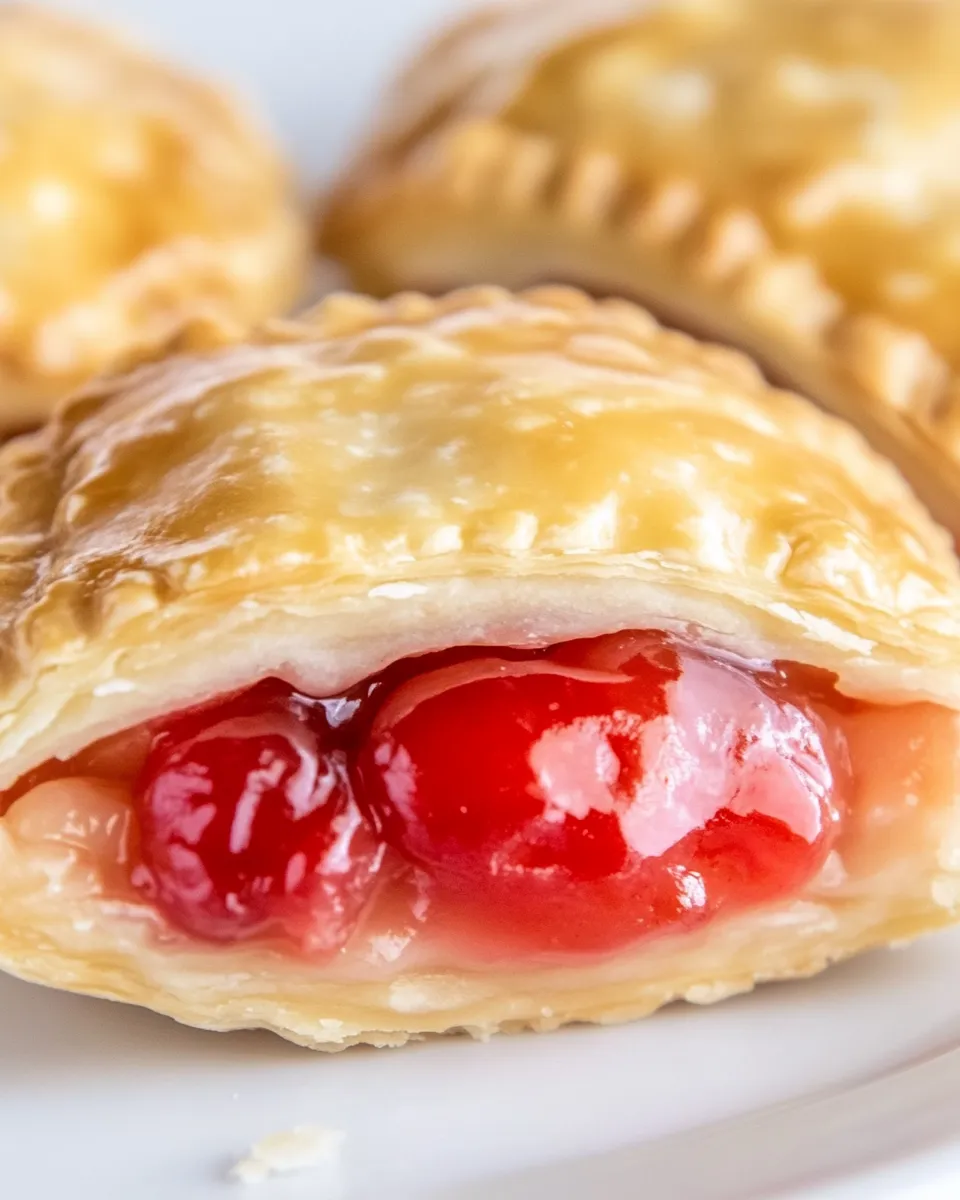
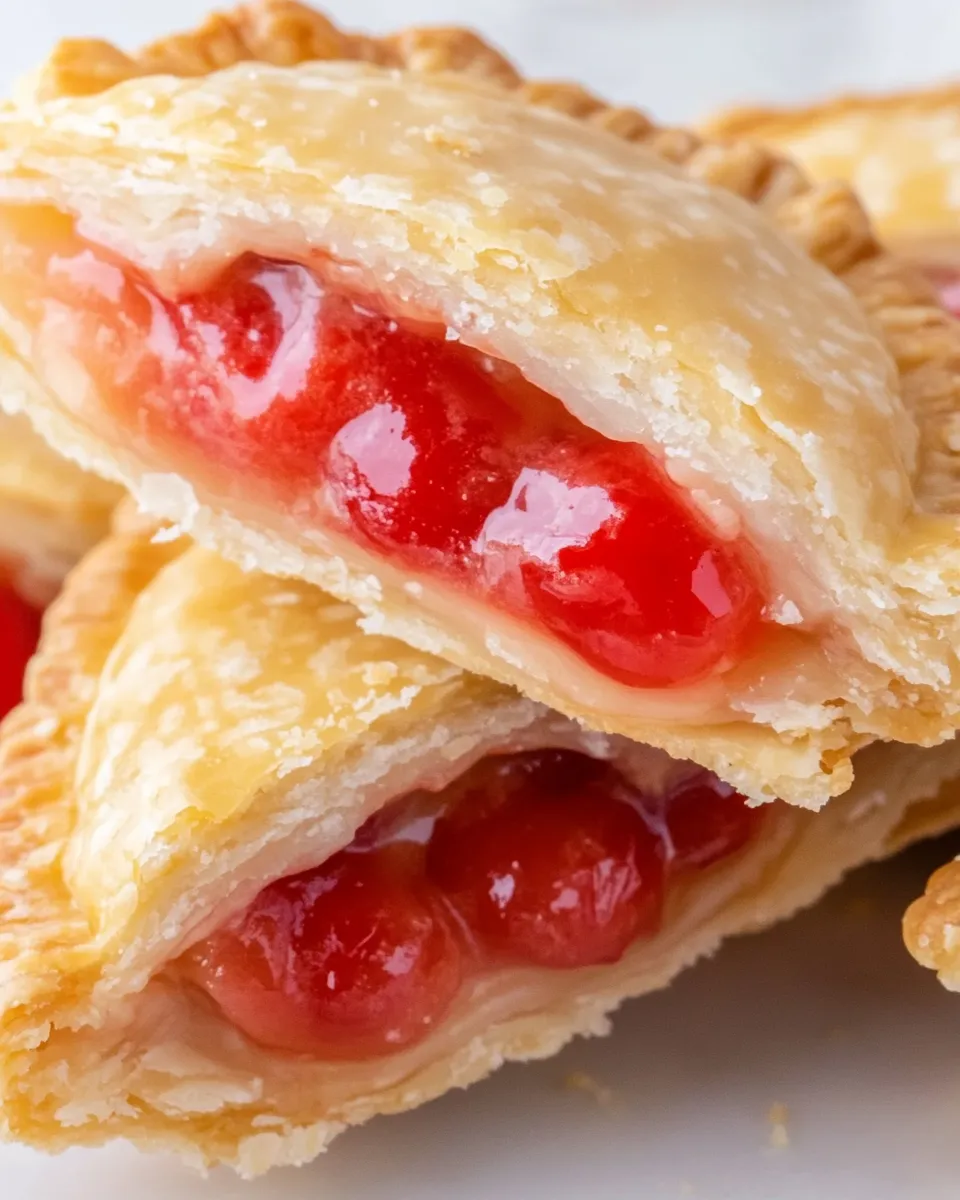
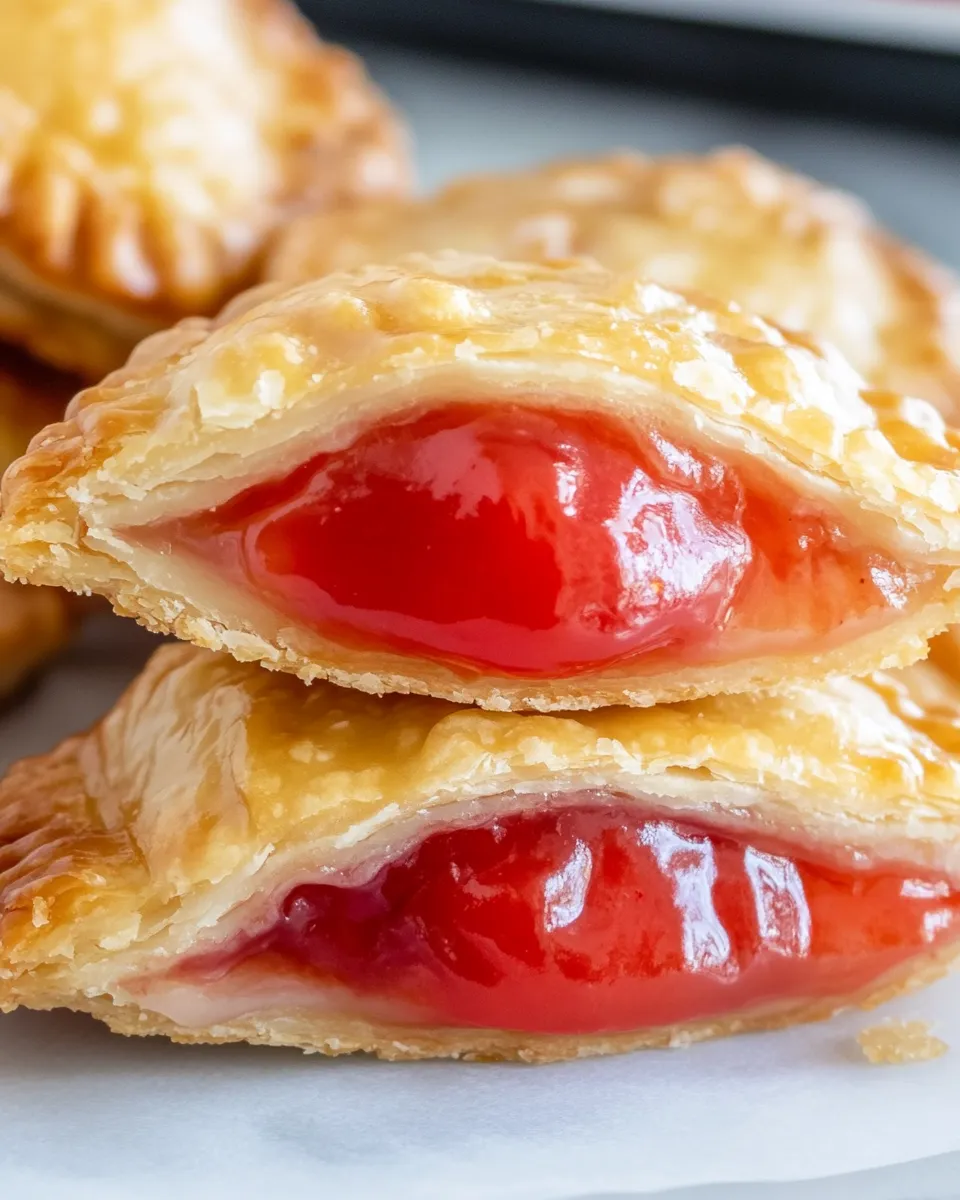
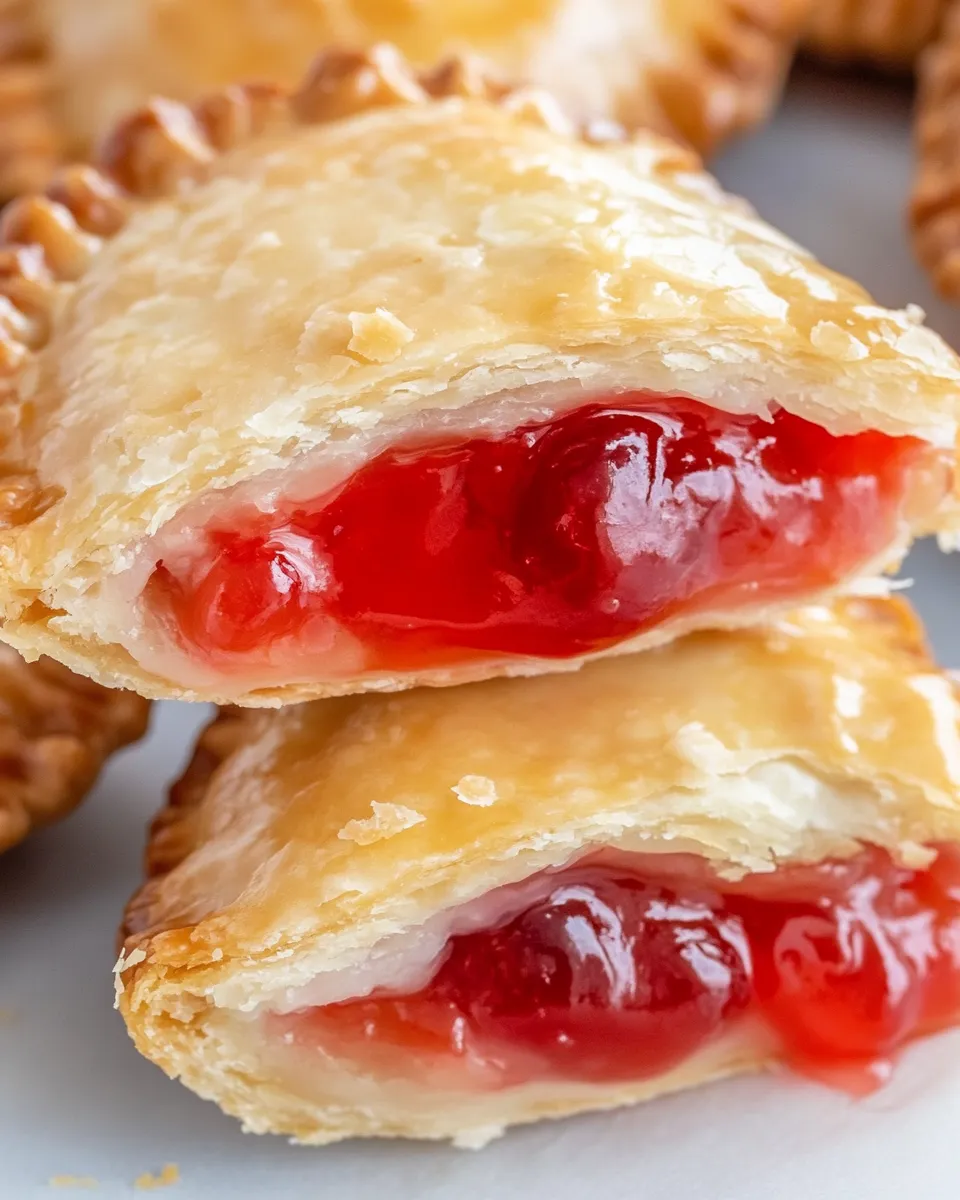
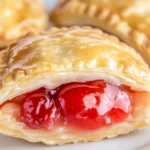
There’s something truly irresistible about the charm of hand pies—those perfectly portable, flaky pockets of sweet filling that make every bite a little celebration. Cherry hand pies, with their vibrant ruby filling and golden crust, are a classic treat that bring joy to any occasion, from afternoon tea to picnics in the park. Whether you’re a seasoned baker or just dipping your toes into homemade pastries, this recipe is designed to be approachable, delicious, and endlessly satisfying. Get ready to fill your kitchen with the warm, inviting aroma of baked cherries and buttery crusts!
Why This Recipe Is a Must-Try
Cherry hand pies strike the perfect balance between simplicity and indulgence. The combination of tart cherries and sweetened filling wrapped in a flaky, buttery crust is a timeless flavor pairing that appeals to all ages. This recipe is a must-try because:
- Easy to Make: With simple steps and easy-to-find ingredients, you can whip up these hand pies any day of the week.
- Perfectly Portable: Individually sized and wrapped, they’re great for on-the-go snacking, lunchboxes, or sharing at gatherings.
- Customizable: You can adapt the filling or crust to match your preferences or dietary needs without losing the essence of the treat.
- Flaky, Buttery Crust: The crust bakes up golden and flaky, providing a wonderful contrast to the luscious cherry filling.
- Uses Fresh or Frozen Cherries: This recipe works year-round, whether you’re using fresh cherries in season or frozen ones from your pantry.
Ingredients
- 2 ½ cups all-purpose flour
- 1 tablespoon granulated sugar
- 1 teaspoon salt
- 1 cup (2 sticks) cold unsalted butter, cut into small cubes
- ¼ to ½ cup ice water
- 3 cups fresh or frozen pitted cherries
- ¾ cup granulated sugar
- 2 tablespoons cornstarch
- 1 tablespoon lemon juice
- 1 teaspoon vanilla extract
- 1 tablespoon unsalted butter, melted (for brushing)
- Optional: coarse sugar for sprinkling on top
How To Make Cherry Hand Pies

Step 1: Prepare the Pie Dough
In a large mixing bowl, whisk together the flour, sugar, and salt. Add the cold, cubed butter. Using a pastry cutter or your fingertips, cut the butter into the flour mixture until it resembles coarse crumbs with some pea-sized pieces of butter remaining. Slowly add ice water, one tablespoon at a time, mixing gently just until the dough starts to come together. Avoid over-mixing to keep the crust flaky. Divide the dough into two discs, wrap in plastic wrap, and refrigerate for at least 1 hour.
Step 2: Make the Cherry Filling
In a medium saucepan, combine the pitted cherries, sugar, cornstarch, lemon juice, and vanilla extract. Cook over medium heat, stirring frequently, until the mixture thickens and becomes glossy. This should take about 5–7 minutes. Remove from heat and let the filling cool completely.
Step 3: Roll Out the Dough
On a lightly floured surface, roll out one disc of dough into a 12-inch circle about 1/8 inch thick. Use a round cutter (about 4 to 5 inches in diameter) to cut out circles from the dough. Gather scraps, re-roll, and cut more circles until all the dough is used.
Step 4: Assemble the Hand Pies
Place a heaping tablespoon of the cooled cherry filling in the center of half of the dough circles. Brush the edges with a little water, then top with another dough circle. Press edges together to seal, and crimp with a fork for a decorative edge. Use a knife to cut small vents on top to allow steam to escape during baking.
Step 5: Bake the Hand Pies
Preheat your oven to 375°F (190°C). Place the assembled hand pies on a parchment-lined baking sheet. Brush the tops with melted butter and sprinkle with coarse sugar if desired. Bake for 25–30 minutes, or until the pies are golden brown and the filling is bubbly. Let cool slightly before serving.
Expert Tips
- Keep ingredients cold: Cold butter and ice water help create a flaky crust.
- Don’t overwork the dough: Handle the dough just enough to bring it together to ensure tenderness.
- Vent the pies: Small slits on top prevent the filling from bursting out during baking.
- Use frozen cherries if fresh aren’t available: Just be sure to thaw and drain excess juice before cooking.
- Chill assembled pies: For even flakier crust, chill the assembled hand pies for 15 minutes before baking.
- Adjust sweetness: Taste the cherry filling before assembling and add more sugar if you prefer a sweeter filling.
Variations and Customizations
- Mixed Berry Filling: Combine cherries with blueberries or raspberries for a berry medley.
- Almond Twist: Add almond extract to the filling or sprinkle sliced almonds on top before baking.
- Gluten-Free Crust: Substitute all-purpose flour with a gluten-free flour blend designed for baking.
- Vegan Version: Use coconut oil or a plant-based butter alternative and replace the egg wash with almond milk or maple syrup for brushing.
- Spiced Cherry: Add a pinch of cinnamon or ground ginger to the filling for warm, cozy flavor notes.
- Drizzle Topping: After cooling, drizzle with a simple powdered sugar glaze or melted dark chocolate.
How to Store Leftovers
Store any leftover cherry hand pies in an airtight container at room temperature for up to 2 days. For longer storage, keep them in the refrigerator for up to 5 days. To reheat, warm in a 350°F (175°C) oven for 8–10 minutes to maintain the crispiness of the crust. You can also freeze unbaked hand pies by wrapping them tightly and placing them in a freezer-safe bag for up to 3 months. Bake directly from frozen, adding a few extra minutes to the baking time.
FAQ
Can I use canned cherries instead of fresh or frozen?
While canned cherries can be used in a pinch, they tend to be softer and more watery, which could affect the filling’s texture and baking time. If using canned cherries, drain them well and reduce the amount of added liquid or cornstarch to avoid a soggy filling.
How do I prevent the crust from getting soggy?
Ensure your cherry filling is thick and not overly watery by cooking it until it thickens before assembling. Also, chilling the dough and pies before baking helps the crust stay flaky and crisp. Proper venting on top of the pies allows steam to escape, preventing sogginess.
Can I make the dough ahead of time?
Absolutely! The dough can be made and refrigerated for up to 2 days in advance. You can also freeze the dough for up to 3 months. Just thaw it in the refrigerator overnight before rolling out.
Are these hand pies suitable for kids?
Yes, cherry hand pies are a great treat for kids! They are easy to hold and less messy than a slice of traditional pie. Just be sure to cool them before serving to avoid any burns from the hot filling.
Conclusion
Cherry hand pies are a delightful way to enjoy the sweet-tart flavor of cherries wrapped in a golden, flaky crust. This recipe brings the joy of homemade baking with simple ingredients and straightforward steps, perfect for bakers of all levels. Whether you’re making them for a casual snack, a festive gathering, or a thoughtful homemade gift, these hand pies are sure to impress. Don’t be afraid to experiment with variations and make this recipe your own—you might just discover your new favorite treat. Happy baking!
Cherry Hand Pies
Ingredients
- 2 ½ cups all-purpose flour
- 1 tablespoon granulated sugar
- 1 teaspoon salt
- 1 cup cold unsalted butter cut into small cubes (2 sticks)
- ¼ to ½ cup ice water
- 3 cups fresh or frozen pitted cherries
- ¾ cup granulated sugar
- 2 tablespoons cornstarch
- 1 tablespoon lemon juice
- 1 teaspoon vanilla extract
- 1 tablespoon unsalted butter melted (for brushing)
- coarse sugar optional, for sprinkling on top
Instructions
Prepare the Pie Dough
- In a large mixing bowl, whisk together the flour, sugar, and salt. Add the cold, cubed butter. Using a pastry cutter or your fingertips, cut the butter into the flour mixture until it resembles coarse crumbs with some pea-sized pieces of butter remaining. Slowly add ice water, one tablespoon at a time, mixing gently just until the dough starts to come together. Avoid over-mixing to keep the crust flaky. Divide the dough into two discs, wrap in plastic wrap, and refrigerate for at least 1 hour.
Make the Cherry Filling
- In a medium saucepan, combine the pitted cherries, sugar, cornstarch, lemon juice, and vanilla extract. Cook over medium heat, stirring frequently, until the mixture thickens and becomes glossy. This should take about 5–7 minutes. Remove from heat and let the filling cool completely.
Roll Out the Dough
- On a lightly floured surface, roll out one disc of dough into a 12-inch circle about 1/8 inch thick. Use a round cutter (about 4 to 5 inches in diameter) to cut out circles from the dough. Gather scraps, re-roll, and cut more circles until all the dough is used.
Assemble the Hand Pies
- Place a heaping tablespoon of the cooled cherry filling in the center of half of the dough circles. Brush the edges with a little water, then top with another dough circle. Press edges together to seal, and crimp with a fork for a decorative edge. Use a knife to cut small vents on top to allow steam to escape during baking.
Bake the Hand Pies
- Preheat your oven to 375°F (190°C). Place the assembled hand pies on a parchment-lined baking sheet. Brush the tops with melted butter and sprinkle with coarse sugar if desired. Bake for 25–30 minutes, or until the pies are golden brown and the filling is bubbly. Let cool slightly before serving.
Equipment
- Large Mixing Bowl
- Pastry Cutter
- Medium Saucepan
- Rolling Pin
- Round Cutter
- Baking Sheet
- Parchment Paper
- Fork
- Knife