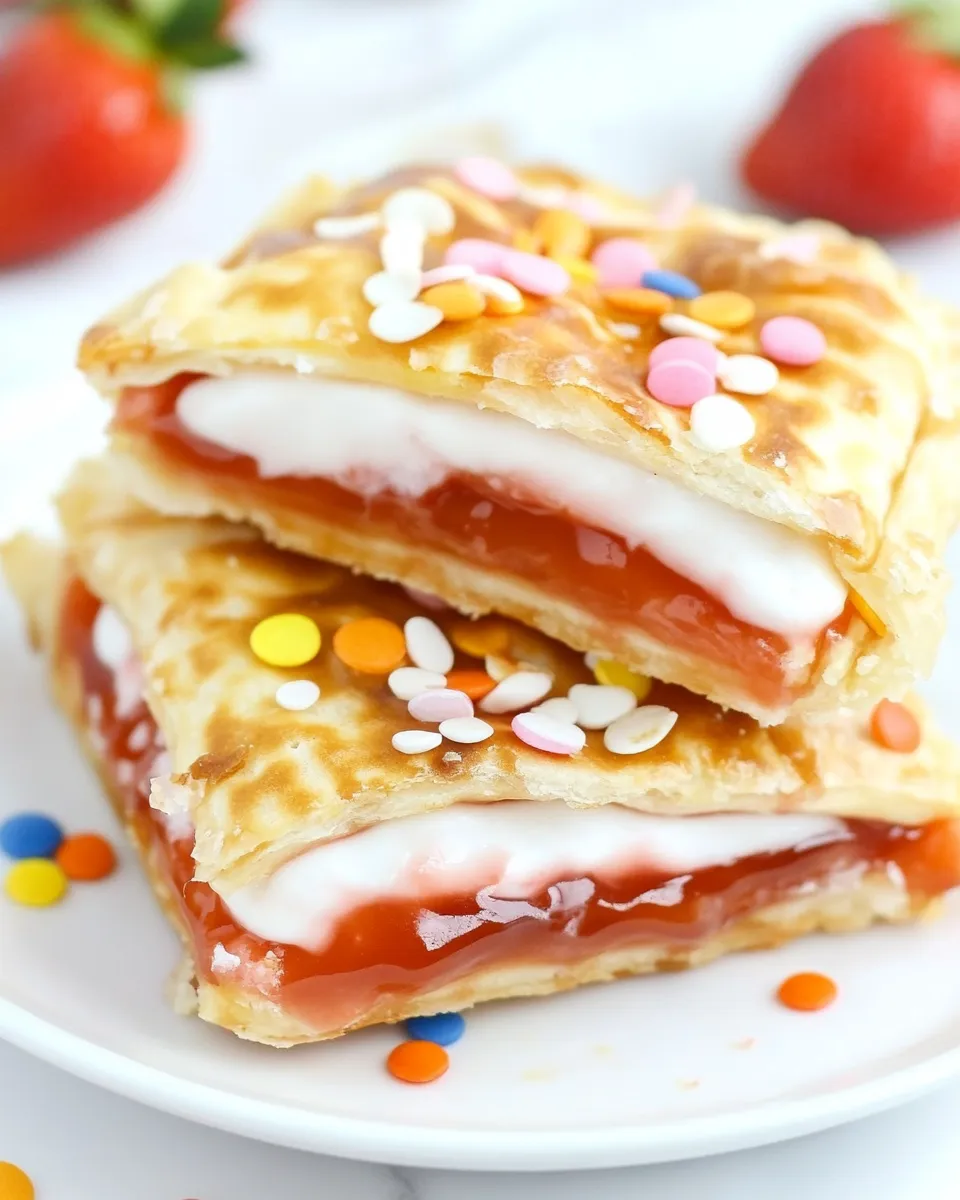
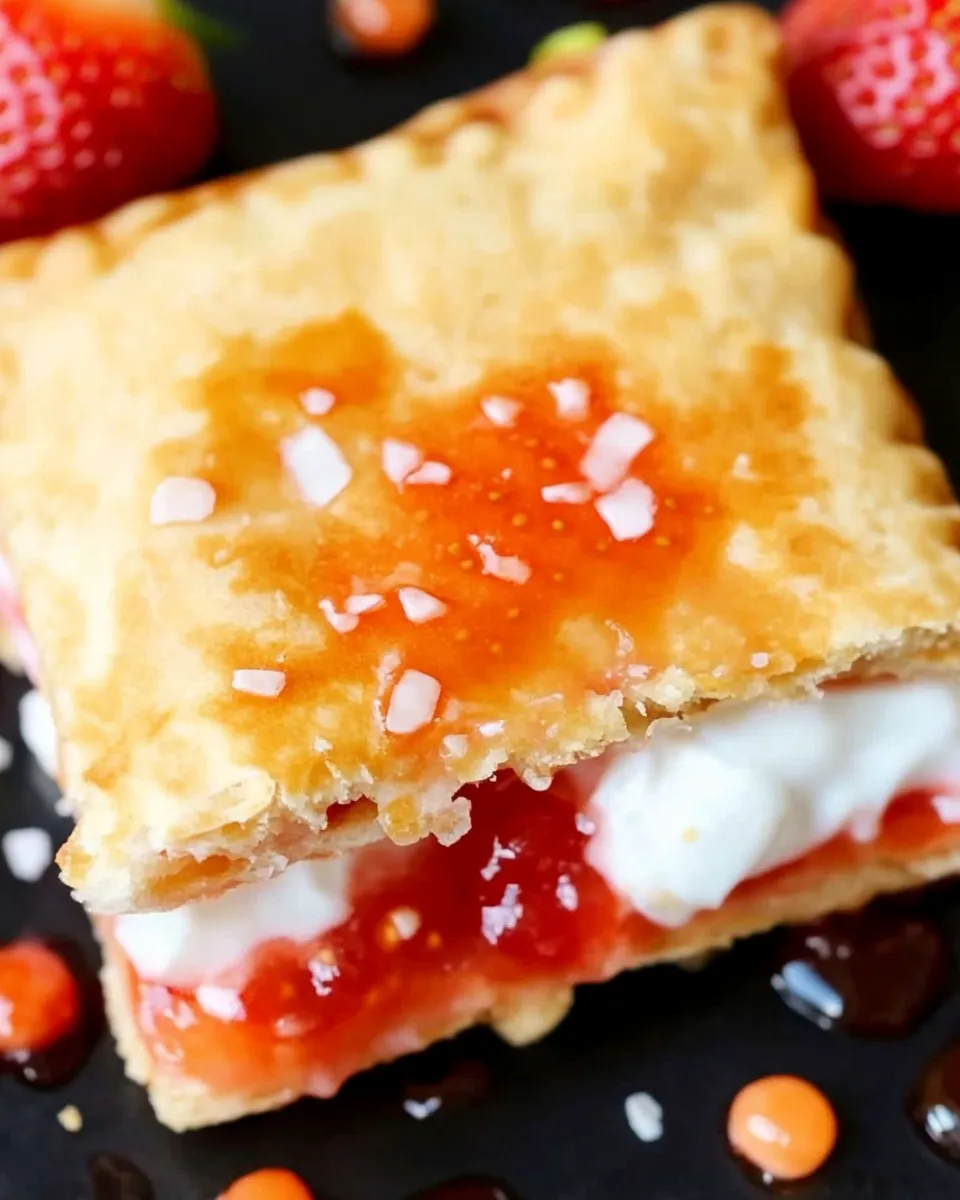
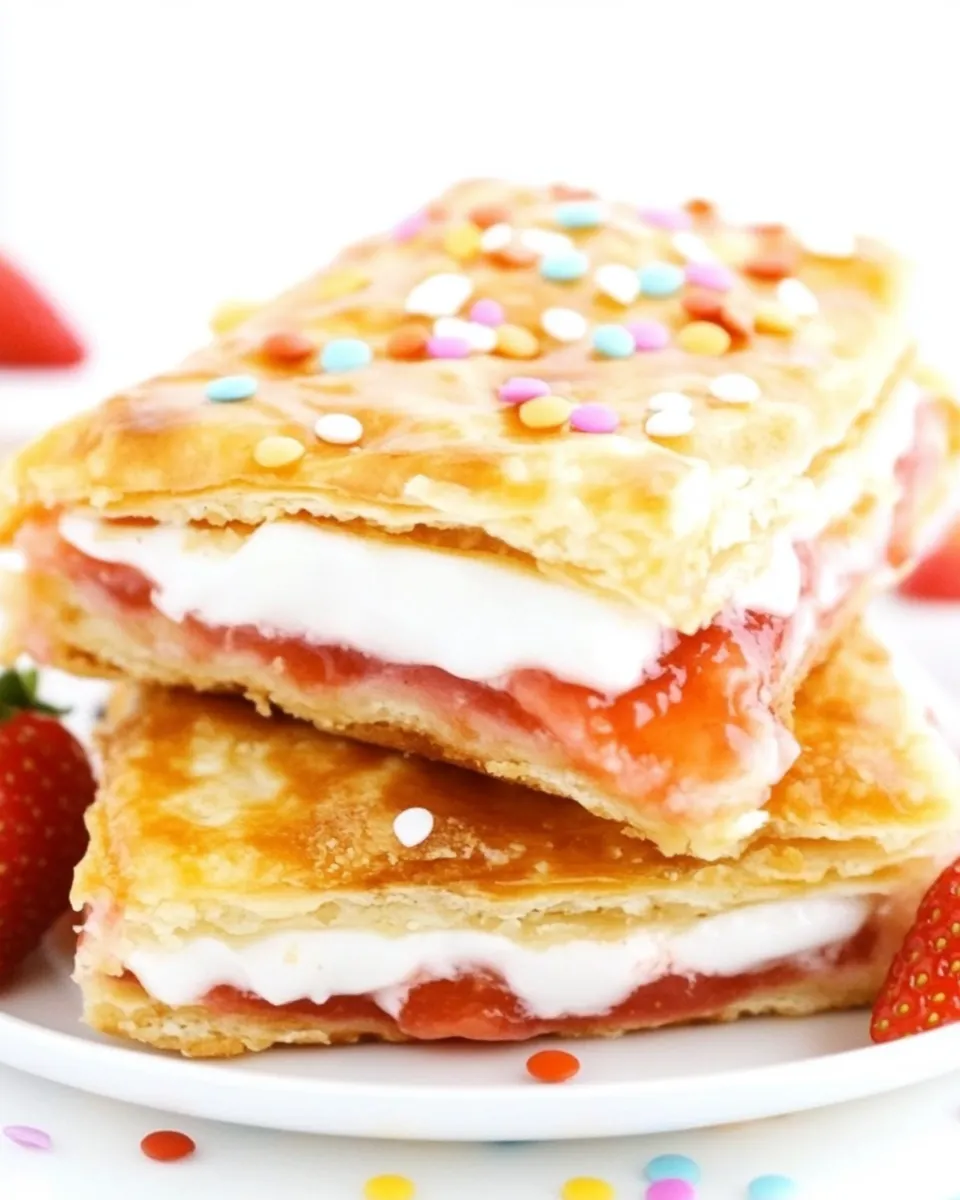
If you grew up loving those sweet, flaky, toaster-ready pastries but have been craving a homemade version that’s both delicious and customizable, you’re in for a treat! These Strawberry Pop Tarts are bursting with vibrant strawberry filling and encased in buttery, flaky pastry that you can make from scratch. The best part? You control the ingredients, so you get a wholesome, delightful breakfast or snack that feels like a little slice of nostalgia.
Why This Recipe Is a Must-Try
Making pop tarts at home is easier than you think, and this recipe delivers that perfect balance of flaky crust and luscious, jammy strawberry filling. Unlike store-bought varieties, these pop tarts are free from artificial colors, preservatives, and unnecessary additives. Plus, you can customize the sweetness and even the type of fruit filling to suit your taste. These strawberry pop tarts are perfect for a weekend brunch, a sweet breakfast on the go, or a fun baking project with the family.
What really sets this recipe apart is the tender, buttery crust that’s just the right thickness—not too thick to be doughy, and not too thin to be fragile. The strawberry filling is made from simple, natural ingredients and cooked down to a jam-like consistency that is both fresh and vibrant. And the icing drizzle? It’s the perfect finishing touch that adds a hint of sweetness without overpowering the fruit.
Ingredients
- 2 ½ cups all-purpose flour, plus extra for rolling
- 1 tablespoon granulated sugar
- 1 teaspoon salt
- 1 cup unsalted butter, cold and cubed
- 1/3 cup cold water, plus extra if needed
- 1 large egg (for egg wash)
- 1 cup fresh strawberries, hulled and chopped
- ½ cup granulated sugar (for filling)
- 1 tablespoon lemon juice
- 1 tablespoon cornstarch
- 1 teaspoon vanilla extract
- For the icing:
- 1 cup powdered sugar
- 2-3 tablespoons milk (dairy or plant-based)
- ½ teaspoon vanilla extract
How To Make Strawberry Pop Tarts
Step 1: Make the Dough
In a large mixing bowl, combine the flour, sugar, and salt. Add the cold, cubed butter and use a pastry cutter or your fingers to cut the butter into the flour until the mixture resembles coarse crumbs with some pea-sized butter pieces remaining. Slowly add the cold water, one tablespoon at a time, mixing gently until the dough just comes together. Be careful not to overwork it. Form the dough into a disk, wrap it in plastic wrap, and refrigerate for at least 1 hour.
Step 2: Prepare the Strawberry Filling
In a small saucepan, combine the chopped strawberries, sugar, lemon juice, and cornstarch. Cook over medium heat, stirring frequently, until the mixture thickens and the strawberries break down into a jam-like consistency (about 8-10 minutes). Remove from heat and stir in the vanilla extract. Allow the filling to cool completely before assembling.
Step 3: Roll Out the Dough
Preheat your oven to 375°F (190°C). On a lightly floured surface, roll out the chilled dough to about 1/8 inch thickness. Using a sharp knife or a rectangular cookie cutter (about 3 x 4 inches), cut the dough into even rectangles. You should have roughly 12 rectangles.
Step 4: Assemble the Pop Tarts
Place half of the rectangles on a baking sheet lined with parchment paper. Spoon about one tablespoon of the strawberry filling onto the center of each rectangle, leaving a border around the edges. Brush the edges lightly with beaten egg, then place another rectangle on top of each filled one. Press the edges together gently with a fork to seal them.
Step 5: Bake
Brush the tops of the pop tarts with the remaining beaten egg. Use a fork or sharp knife to poke a few small holes on top of each tart to allow steam to escape. Bake for 20-25 minutes or until the pop tarts are golden brown.
Step 6: Prepare the Icing
While the tarts are baking, whisk together the powdered sugar, milk, and vanilla extract until smooth. Adjust the consistency by adding more milk (for thinner glaze) or powdered sugar (for thicker glaze).
Step 7: Glaze and Serve
Allow the pop tarts to cool slightly on a wire rack. Drizzle the icing over the warm tarts and let it set before serving. Enjoy warm or at room temperature!
Expert Tips
- Make sure your butter is very cold when you mix it into the flour for the flakiest crust.
- Don’t overwork the dough—handle it as little as possible to keep it tender.
- Chill the dough before rolling it out to make it easier to handle and prevent shrinking during baking.
- Use fresh, ripe strawberries for the best flavor in your filling.
- If you want a smoother filling, pulse the cooked strawberry mixture in a food processor after it cools.
- Seal the edges firmly with an egg wash and a fork to prevent filling leakage during baking.
- Adjust the sweetness of the filling and icing according to your taste preference.
- For a fun touch, add colored sprinkles on top of the icing before it sets.
Variations and Customizations
- Different Fruit Fillings: Swap strawberries for blueberries, raspberries, or peaches for a different flavor profile.
- Vegan Option: Replace the butter with a plant-based margarine and use a flax egg or aquafaba for the egg wash.
- Chocolate Drizzle: Melt some dark chocolate and drizzle it over the icing for a decadent twist.
- Spiced Filling: Add a pinch of cinnamon or cardamom to the strawberry filling for a warm spice note.
- Nutty Crunch: Sprinkle finely chopped nuts like almonds or pistachios on the icing before it sets.
- Gluten-Free: Use a gluten-free flour blend suitable for pastries in place of all-purpose flour.
How to Store Leftovers
Store leftover pop tarts in an airtight container at room temperature for up to 2 days. For longer storage, keep them in the refrigerator for up to a week. You can also freeze the un-iced pop tarts before baking; freeze them on a baking sheet until solid, then transfer to a freezer-safe bag. Bake directly from frozen, adding a few extra minutes to the baking time. Store iced pop tarts in the fridge to keep the glaze fresh and drizzle more icing just before serving if needed.
FAQ
Can I make the dough ahead of time?
Absolutely! The dough can be made up to 2 days in advance and kept wrapped tightly in the refrigerator. Just let it rest at room temperature for about 10 minutes before rolling out to make it easier to handle.
How do I prevent the pop tarts from getting soggy?
To avoid soggy pop tarts, make sure your filling isn’t too watery by cooking it down well and using cornstarch to thicken. Also, seal the edges tightly and poke holes in the top crust to allow steam to escape during baking.
Can I use store-bought jam instead of making the filling?
Yes, you can substitute homemade filling with your favorite strawberry jam. Just keep in mind that store-bought jam might be sweeter and less fresh-tasting, but it’s a great time-saver.
What is the best way to reheat pop tarts?
The best way to reheat pop tarts is in a toaster oven or regular oven at 350°F (175°C) for 5-7 minutes. This method helps to restore the flaky texture while warming the filling nicely. Avoid microwaving if you want to keep the crust crisp.
Conclusion
These homemade Strawberry Pop Tarts are a delicious way to bring a little homemade magic to a classic breakfast treat. With a flaky, buttery crust and a bright, flavorful strawberry filling, they’re a delightful upgrade from store-bought versions. Whether you’re making them for a special weekend breakfast, a fun cooking project, or just because you love a sweet pastry, this recipe is sure to become a favorite. Don’t forget to experiment with different fillings and toppings to make them your own. Happy baking!

Strawberry Pop Tarts
Ingredients
- 2 1/2 cups all-purpose flour plus extra for rolling
- 1 tablespoon granulated sugar
- 1 teaspoon salt
- 1 cup unsalted butter cold and cubed
- 1/3 cup cold water plus extra if needed
- 1 large egg for egg wash
- 1 cup fresh strawberries hulled and chopped
- 1/2 cup granulated sugar for filling
- 1 tablespoon lemon juice
- 1 tablespoon cornstarch
- 1 teaspoon vanilla extract
For the icing
- 1 cup powdered sugar
- 2-3 tablespoons milk dairy or plant-based
- 1/2 teaspoon vanilla extract
Instructions
- In a large mixing bowl, combine the flour, sugar, and salt. Add the cold, cubed butter and use a pastry cutter or your fingers to cut the butter into the flour until the mixture resembles coarse crumbs with some pea-sized butter pieces remaining. Slowly add the cold water, one tablespoon at a time, mixing gently until the dough just comes together. Be careful not to overwork it. Form the dough into a disk, wrap it in plastic wrap, and refrigerate for at least 1 hour.
- In a small saucepan, combine the chopped strawberries, sugar, lemon juice, and cornstarch. Cook over medium heat, stirring frequently, until the mixture thickens and the strawberries break down into a jam-like consistency (about 8-10 minutes). Remove from heat and stir in the vanilla extract. Allow the filling to cool completely before assembling.
- Preheat your oven to 375°F (190°C). On a lightly floured surface, roll out the chilled dough to about 1/8 inch thickness. Using a sharp knife or a rectangular cookie cutter (about 3 x 4 inches), cut the dough into even rectangles. You should have roughly 12 rectangles.
- Place half of the rectangles on a baking sheet lined with parchment paper. Spoon about one tablespoon of the strawberry filling onto the center of each rectangle, leaving a border around the edges. Brush the edges lightly with beaten egg, then place another rectangle on top of each filled one. Press the edges together gently with a fork to seal them.
- Brush the tops of the pop tarts with the remaining beaten egg. Use a fork or sharp knife to poke a few small holes on top of each tart to allow steam to escape. Bake for 20-25 minutes or until the pop tarts are golden brown.
- While the tarts are baking, whisk together the powdered sugar, milk, and vanilla extract until smooth. Adjust the consistency by adding more milk (for thinner glaze) or powdered sugar (for thicker glaze).
- Allow the pop tarts to cool slightly on a wire rack. Drizzle the icing over the warm tarts and let it set before serving. Enjoy warm or at room temperature!
Equipment
- Large Mixing Bowl
- Pastry Cutter
- Small Saucepan
- Rolling Pin
- Rectangular Cookie Cutter
- Baking Sheet
- Parchment Paper
- Wire Rack
- Whisk