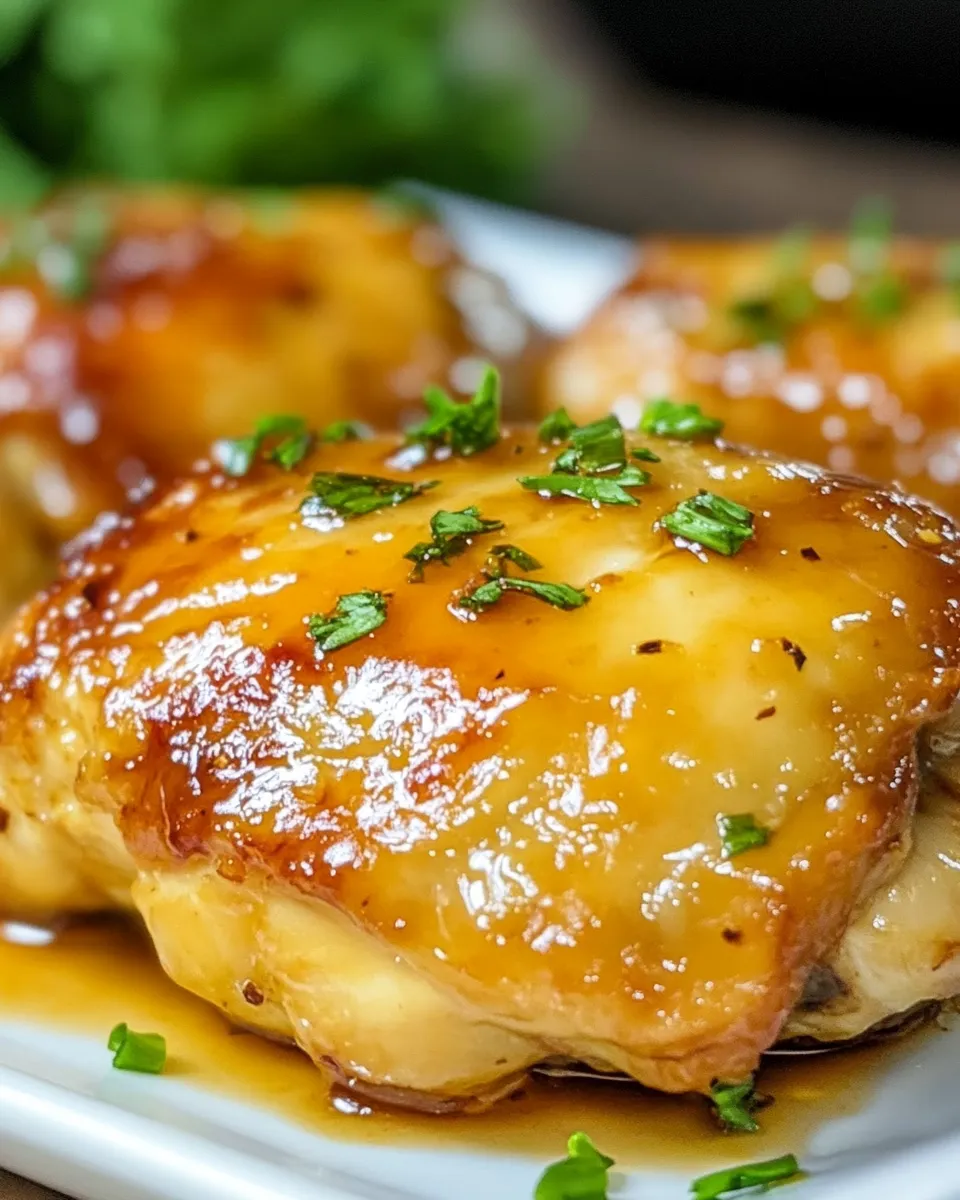
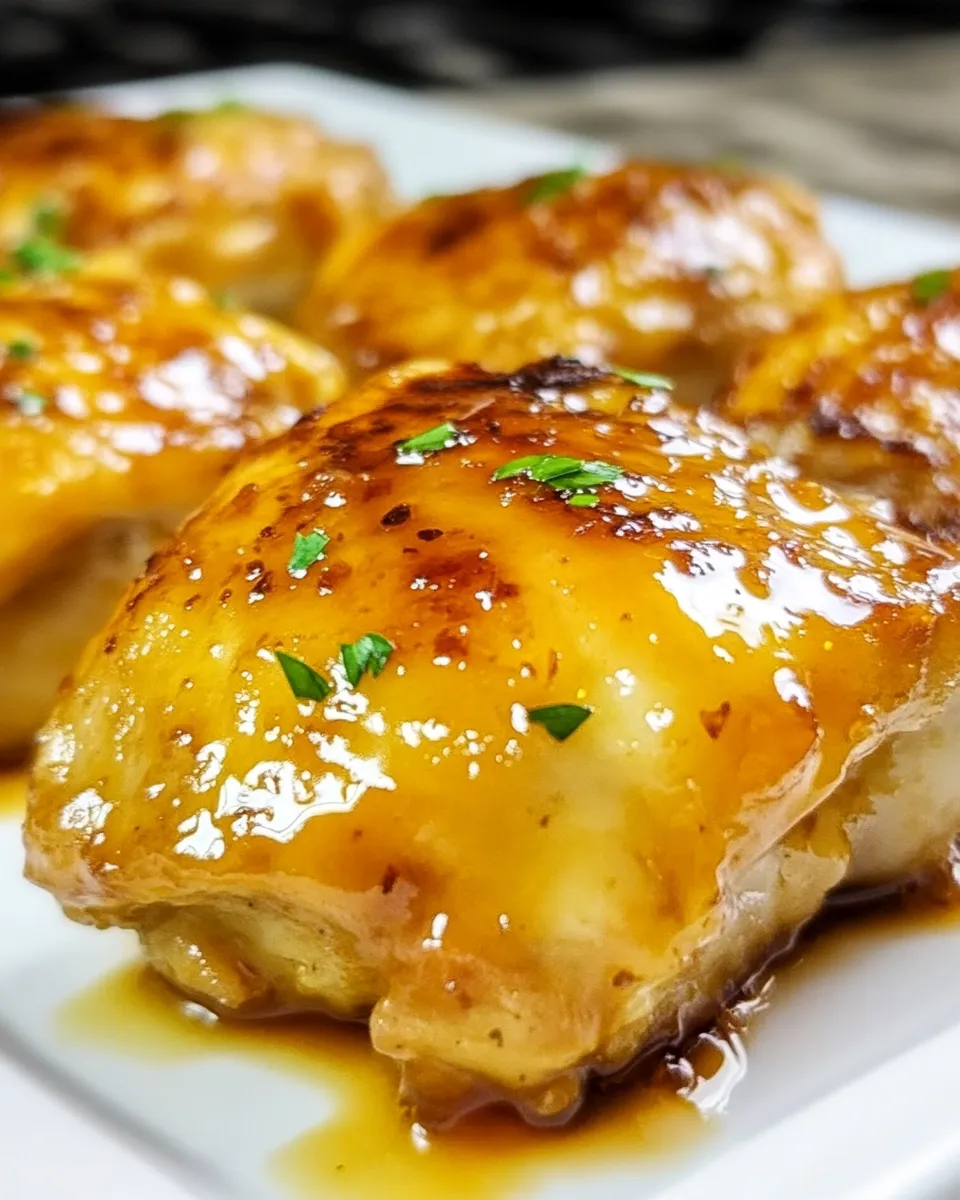
If you’re on the hunt for a dinner recipe that’s bursting with flavor, simple to make, and sure to satisfy the whole family, look no further than these Honey Garlic Chicken Thighs. Tender, juicy chicken thighs are perfectly glazed with a sticky, sweet, and garlicky sauce that will have you scraping your plate clean. This recipe strikes the perfect balance between savory and sweet, making it an absolute crowd-pleaser. Whether you’re cooking for a quick weeknight meal or prepping for a cozy weekend dinner, these chicken thighs come together effortlessly and taste like they’ve been slow-cooked for hours.
Why This Recipe Is a Must-Try
What makes this recipe stand out is its incredible simplicity paired with a depth of flavor that feels anything but basic. Chicken thighs are naturally more flavorful and juicy than chicken breasts, and when cooked properly, they offer a tender bite with crispy edges that perfectly soak up the honey garlic sauce. The sauce itself is a harmonious blend of sweet honey, pungent garlic, and a touch of soy sauce for umami richness. Plus, it’s incredibly versatile — you can serve it over rice, noodles, or even roasted vegetables for a complete meal.
Not only does this dish taste amazing, but it also requires minimal ingredients and little prep time, making it ideal for busy cooks who want a no-fuss dinner without compromising on taste. The sticky glaze creates a beautiful, glossy finish that’s as appetizing as it looks. Best of all, this recipe uses ingredients that are easy to find in any grocery store.
Ingredients
- 6 bone-in, skin-on chicken thighs
- 1/4 cup honey
- 4 cloves garlic, minced
- 1/4 cup low-sodium soy sauce (ensure it is suitable for your dietary preferences)
- 2 tablespoons olive oil or any neutral cooking oil
- 1 tablespoon apple cider vinegar or white vinegar
- 1/2 teaspoon freshly ground black pepper
- 1/4 teaspoon salt (adjust to taste)
- 1 teaspoon cornstarch mixed with 1 tablespoon water (optional, for thickening sauce)
- Chopped fresh parsley or green onions for garnish (optional)
How To Make Honey Garlic Chicken Thighs

Step 1: Prepare the Chicken
Start by patting the chicken thighs dry with paper towels. This helps to get crispy skin during cooking. Season both sides of the chicken thighs with salt and pepper evenly.
Step 2: Brown the Chicken
Heat the olive oil in a large skillet over medium-high heat. Once hot, add the chicken thighs skin-side down. Cook for about 5-7 minutes or until the skin turns golden brown and crispy. Flip the chicken and cook the other side for 4-5 minutes. Remove the chicken from the skillet and set aside.
Step 3: Make the Honey Garlic Sauce
In the same skillet, reduce heat to medium. Add the minced garlic and sauté for about 30 seconds to 1 minute until fragrant (be careful not to burn it). Add the honey, soy sauce, and vinegar. Stir to combine and bring the sauce to a gentle simmer.
Step 4: Combine Chicken and Sauce
Return the chicken thighs to the skillet, skin-side up. Spoon some sauce over the chicken. Cover the skillet and let it cook for another 10-12 minutes, or until the chicken is cooked through (internal temperature should reach 165°F or 74°C).
Step 5: Thicken the Sauce (Optional)
If you prefer a thicker glaze, remove the chicken once cooked and stir in the cornstarch slurry into the sauce. Simmer for a minute or two until the sauce thickens to your liking. Then, return the chicken to the pan and coat it with the thickened sauce.
Step 6: Serve
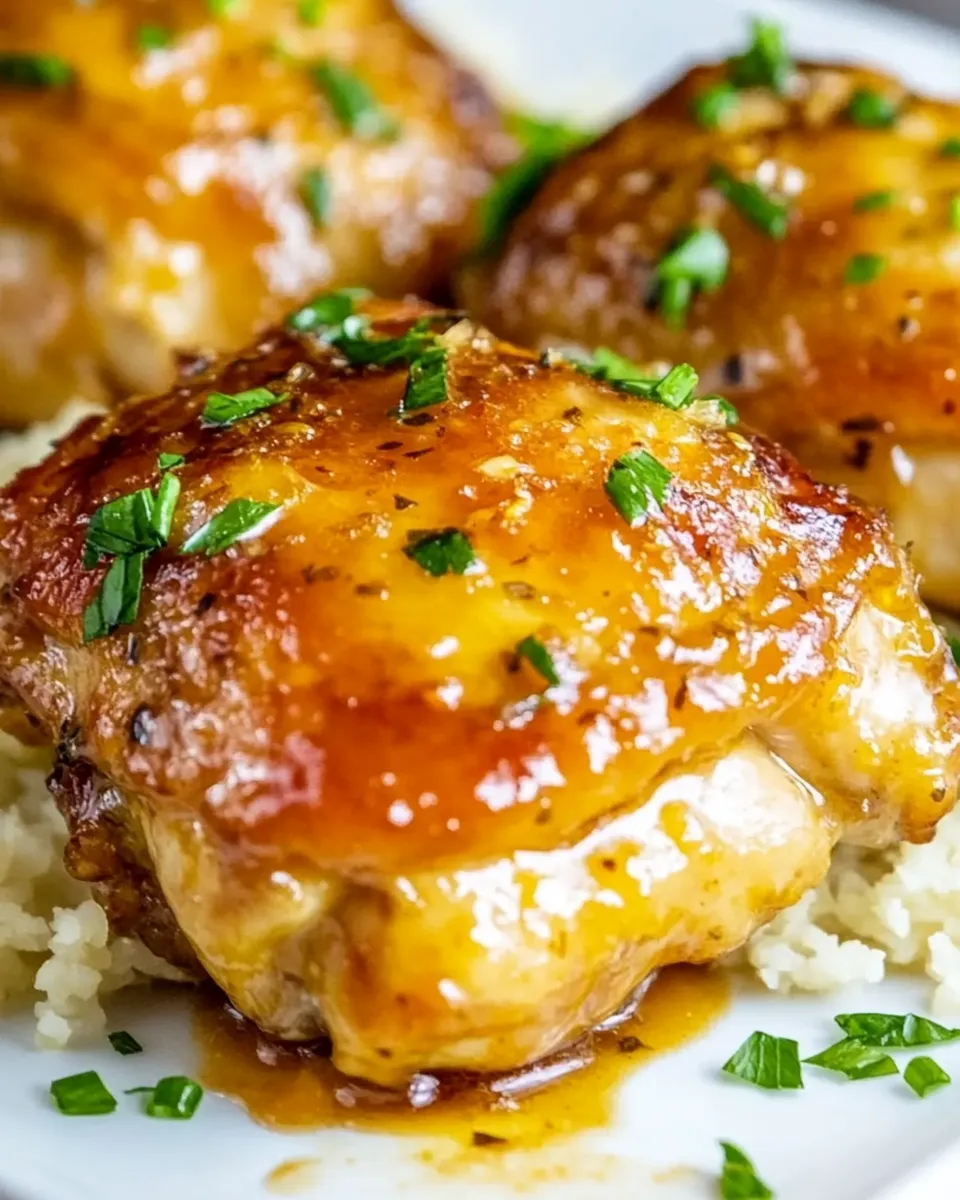
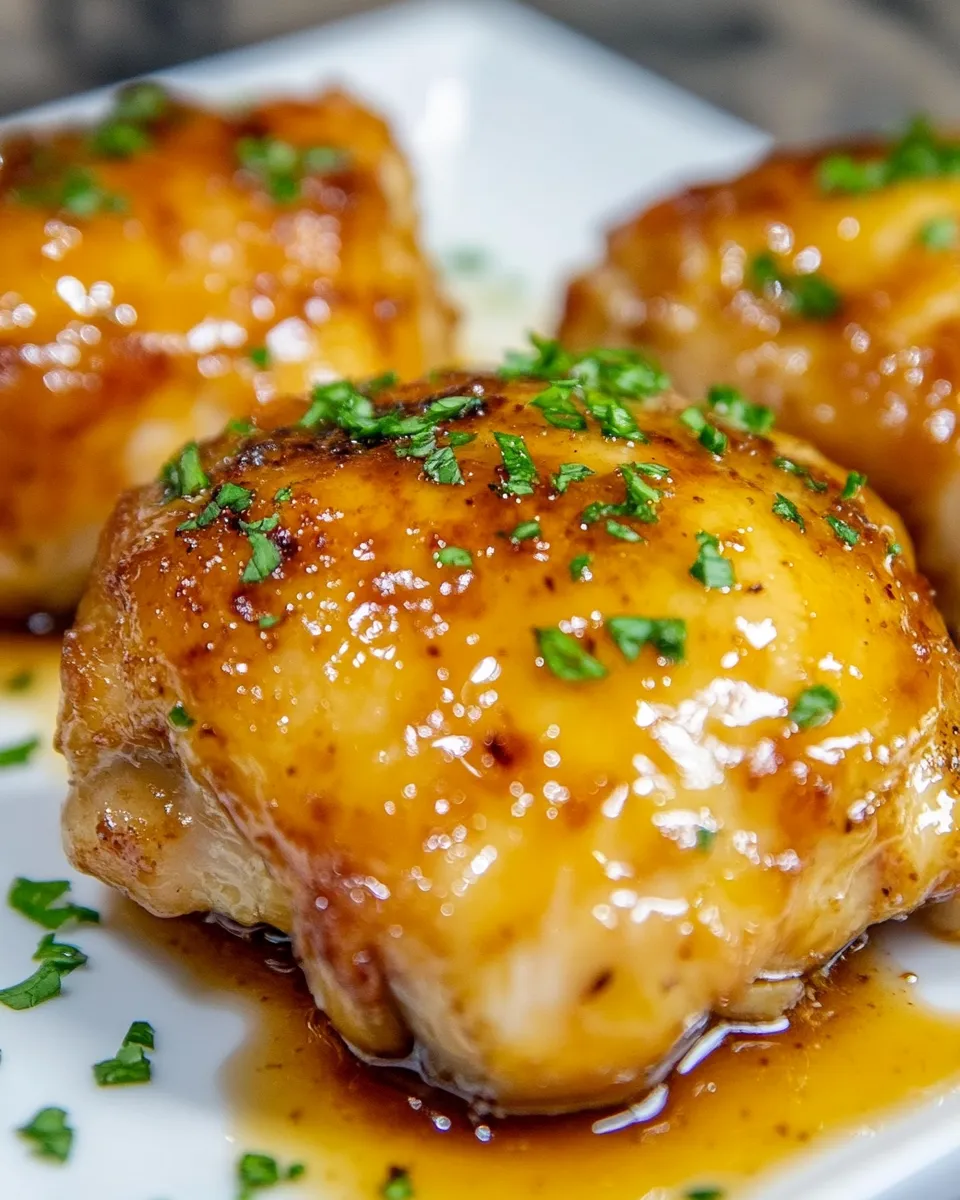
Garnish the chicken with chopped parsley or sliced green onions if desired. Serve immediately over steamed rice, quinoa, or roasted vegetables for a wholesome meal.
Expert Tips
- For extra crispy skin, make sure the chicken thighs are completely dry before cooking and avoid overcrowding the pan.
- If you don’t have bone-in chicken thighs, boneless skinless thighs can work, but cooking time will be shorter.
- Use a meat thermometer to ensure the chicken is cooked through without drying it out.
- Adjust the honey amount based on your sweetness preference; add more for a sweeter glaze.
- Let the chicken rest for a few minutes after cooking to allow juices to redistribute.
- Try adding a pinch of chili flakes to the sauce if you like a hint of heat.
- If you prefer a gluten-free version, substitute soy sauce with tamari or coconut aminos.
Variations and Customizations

- Spicy Honey Garlic Chicken: Add 1 teaspoon of red pepper flakes or a dash of hot sauce to the sauce for a spicy kick.
- Lemon Honey Garlic Chicken: Add the juice of half a lemon and a teaspoon of lemon zest to brighten the sauce.
- Ginger Honey Garlic Chicken: Add 1 tablespoon of freshly grated ginger along with the garlic for an aromatic twist.
- Oven-Baked Version: After browning the chicken, transfer to a baking dish, pour sauce over, and bake at 400°F (200°C) for 20-25 minutes.
- Vegetable Add-Ins: Toss in some sliced bell peppers, snap peas, or broccoli florets in the last 5 minutes of cooking for a one-pan meal.
- Sticky Honey Garlic Wings: Use chicken wings instead of thighs for a finger-food variation perfect for parties.
How to Store Leftovers
Leftovers can be stored in an airtight container in the refrigerator for up to 3 days. To reheat, warm gently in a skillet over medium-low heat or microwave until heated through. If the sauce has thickened too much after refrigeration, add a splash of water or broth while reheating to loosen it up. For longer storage, you can freeze cooked chicken thighs in a freezer-safe container or bag for up to 3 months. Thaw overnight in the refrigerator before reheating.
FAQ
Can I use chicken breasts instead of thighs?
Yes, you can use chicken breasts, but keep in mind they cook faster and can dry out more easily. Adjust cooking time accordingly and consider marinating the breasts to keep them moist.
Is it necessary to use bone-in, skin-on chicken thighs?
Bone-in, skin-on thighs provide extra flavor and juiciness, and the skin crisps up beautifully. However, boneless, skinless thighs can be used for a quicker, leaner option.
What can I substitute for soy sauce?
If you prefer a soy-free or gluten-free option, tamari or coconut aminos work great as substitutes and will maintain the umami flavor in the sauce.
How do I make the sauce less sweet?
Reduce the amount of honey or add a bit more vinegar to balance the sweetness with acidity. You can also add a splash of water or broth to dilute the sauce slightly.
Conclusion
Honey Garlic Chicken Thighs are a perfect blend of sweet, savory, and garlicky goodness that’s sure to become a staple in your cooking repertoire. This recipe is straightforward, adaptable, and packed with flavor, making it suitable for both beginners and seasoned home cooks. Whether you’re serving it up for a busy weeknight dinner or a special occasion, the combination of tender chicken thighs and sticky honey garlic sauce will impress every time. Give it a try and enjoy a delicious, comforting meal with minimal effort and maximum taste!

Honey Garlic Chicken Thighs
Ingredients
- 6 bone-in, skin-on chicken thighs
- 1/4 cup honey
- 4 cloves garlic minced
- 1/4 cup low-sodium soy sauce (ensure it is suitable for your dietary preferences)
- 2 tablespoons olive oil or any neutral cooking oil
- 1 tablespoon apple cider vinegar or white vinegar
- 1/2 teaspoon freshly ground black pepper
- 1/4 teaspoon salt (adjust to taste)
- 1 teaspoon cornstarch mixed with 1 tablespoon water (optional, for thickening sauce)
- Chopped fresh parsley or green onions for garnish (optional)
Instructions
- Start by patting the chicken thighs dry with paper towels. This helps to get crispy skin during cooking. Season both sides of the chicken thighs with salt and pepper evenly.
- Heat the olive oil in a large skillet over medium-high heat. Once hot, add the chicken thighs skin-side down. Cook for about 5-7 minutes or until the skin turns golden brown and crispy. Flip the chicken and cook the other side for 4-5 minutes. Remove the chicken from the skillet and set aside.
- In the same skillet, reduce heat to medium. Add the minced garlic and sauté for about 30 seconds to 1 minute until fragrant (be careful not to burn it). Add the honey, soy sauce, and vinegar. Stir to combine and bring the sauce to a gentle simmer.
- Return the chicken thighs to the skillet, skin-side up. Spoon some sauce over the chicken. Cover the skillet and let it cook for another 10-12 minutes, or until the chicken is cooked through (internal temperature should reach 165°F or 74°C).
- If you prefer a thicker glaze, remove the chicken once cooked and stir in the cornstarch slurry into the sauce. Simmer for a minute or two until the sauce thickens to your liking. Then, return the chicken to the pan and coat it with the thickened sauce.
- Garnish the chicken with chopped parsley or sliced green onions if desired. Serve immediately over steamed rice, quinoa, or roasted vegetables for a wholesome meal.
Equipment
- Large Skillet
- Meat Thermometer