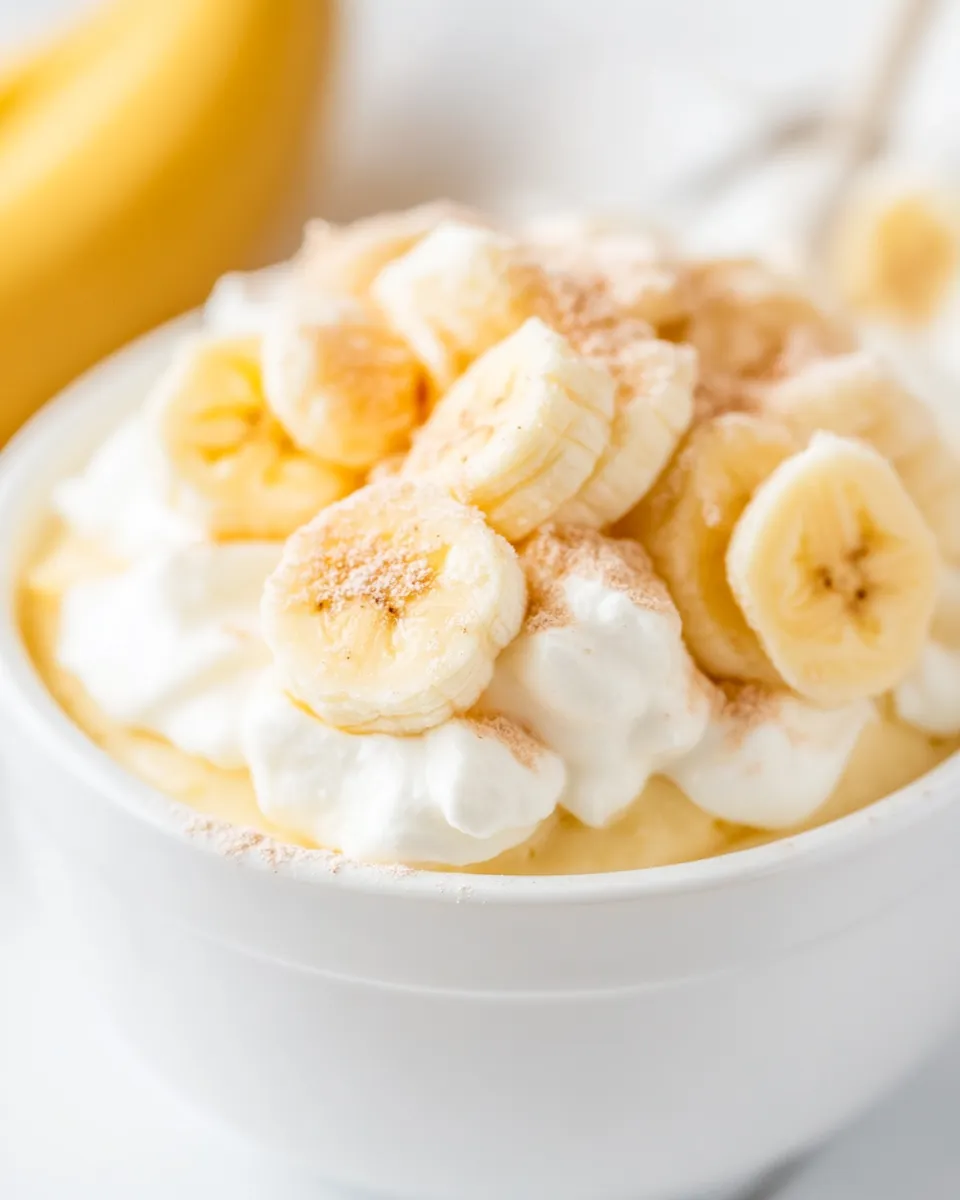
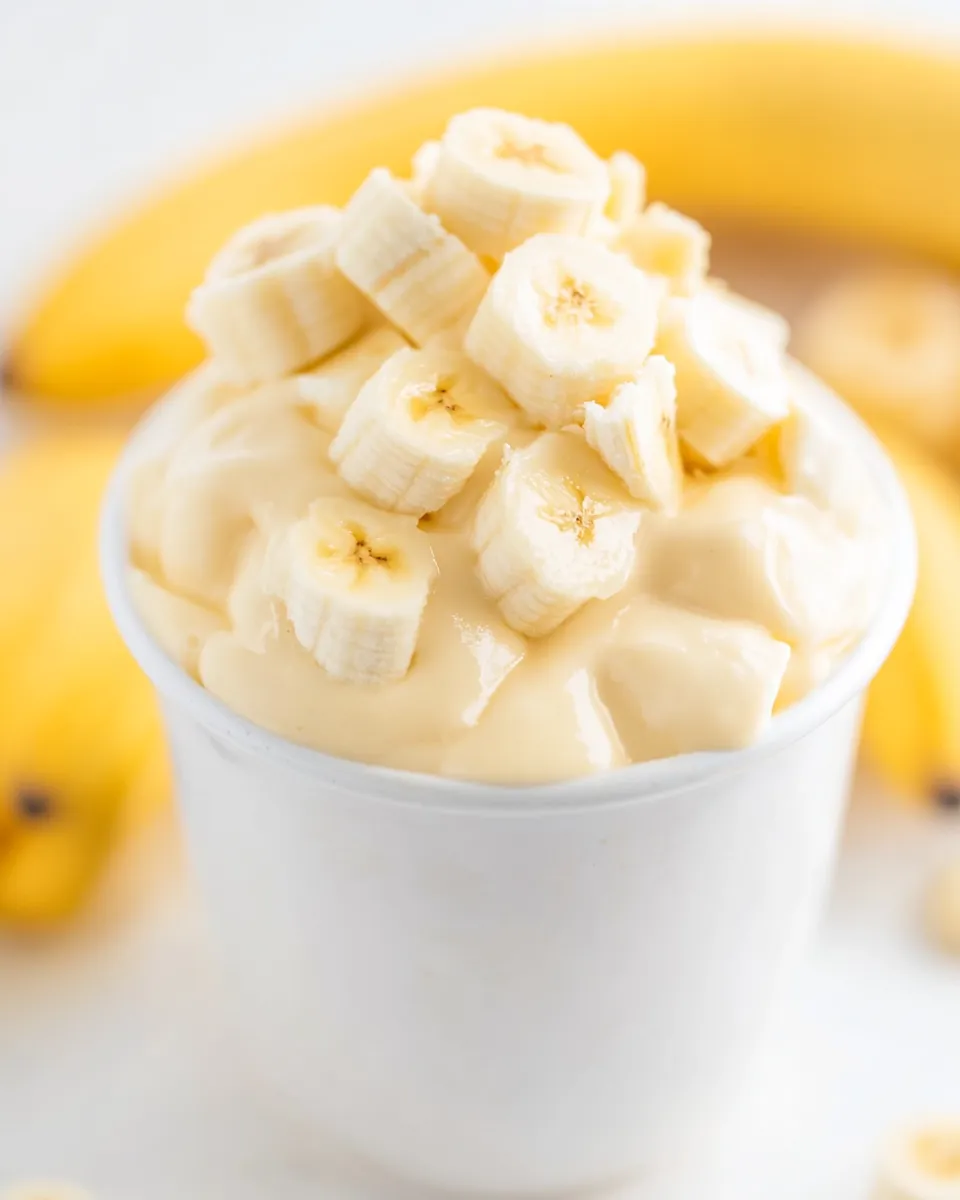
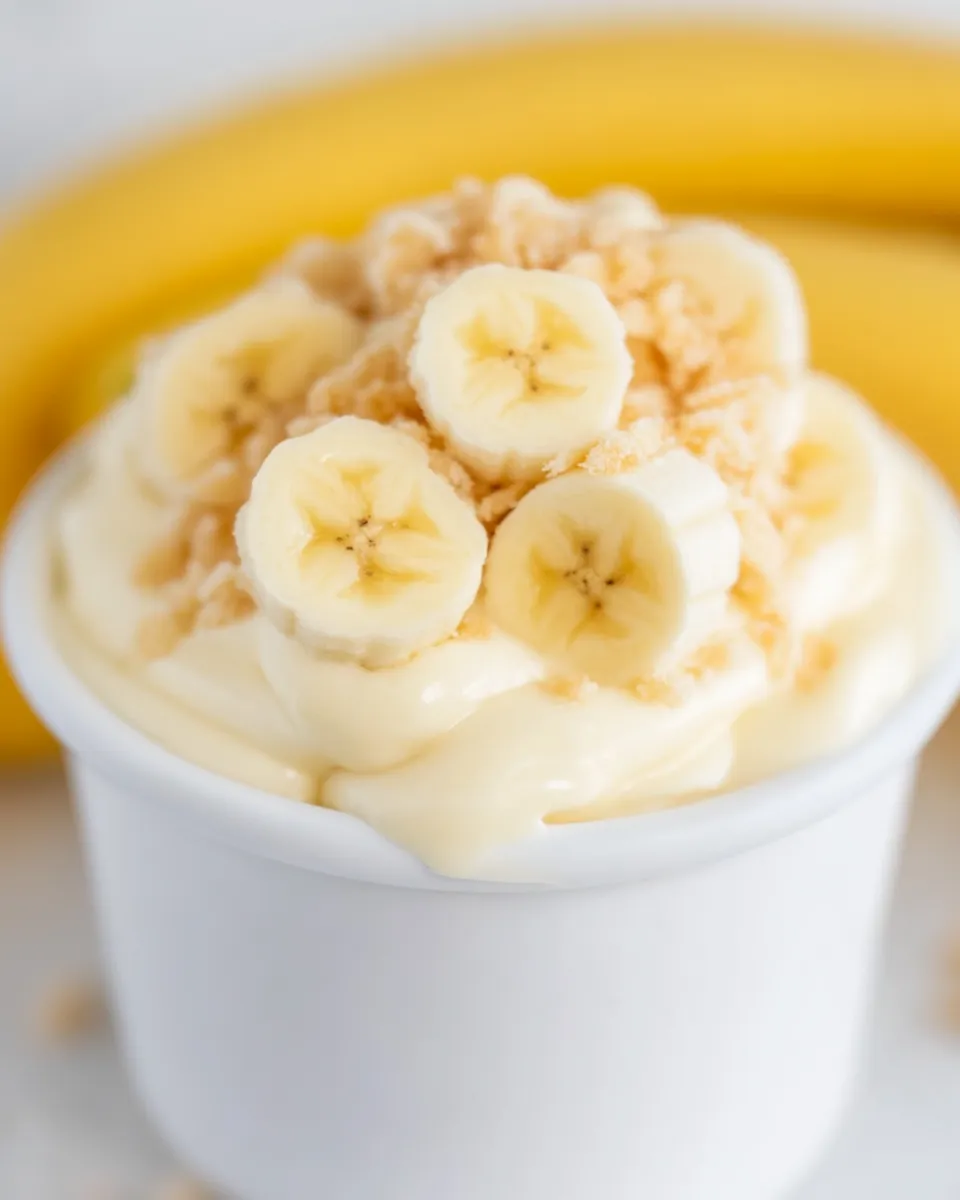
Banana pudding is a timeless dessert that brings comfort and joy with every spoonful. Creamy, smooth vanilla pudding layered with fresh bananas and crunchy vanilla wafers makes for a delightful treat that’s perfect for any occasion. Whether you’re looking to impress at a family gathering or simply indulge in a sweet snack, this homemade banana pudding recipe is easy to make and irresistibly delicious. With fresh ingredients and no artificial shortcuts, this dessert elevates the classic southern favorite to a whole new level of yum.
Why This Recipe Is a Must-Try
This homemade banana pudding recipe stands out because it strikes the perfect balance of creamy pudding, fresh bananas, and crisp wafers. Unlike store-bought versions loaded with preservatives, this recipe uses real ingredients like whole milk and fresh bananas to create a luscious, rich texture that melts in your mouth. It’s also incredibly versatile and can be customized to suit your taste preferences, whether you like it extra creamy, with a hint of cinnamon, or topped with whipped cream.
Moreover, making banana pudding from scratch allows you to control the sweetness and ensures a fresh, wholesome dessert free from artificial flavors and additives. It’s a crowd-pleaser for all ages and perfect for those who love classic comfort food with a homemade touch.
Ingredients
- 3 cups whole milk (or any preferred milk alternative)
- 3/4 cup granulated sugar
- 1/3 cup cornstarch
- 1/4 teaspoon salt
- 3 large egg yolks, lightly beaten
- 2 teaspoons pure vanilla extract
- 3 tablespoons unsalted butter, room temperature
- 4-5 ripe bananas, sliced
- 1 (12-ounce) box vanilla wafer cookies
- Optional: 1 cup heavy cream (or coconut cream for dairy-free), whipped for topping
How To Make Homemade Banana Pudding
Step 1: Prepare the Pudding Base
In a medium saucepan, whisk together the sugar, cornstarch, and salt. Slowly pour in the milk while continuing to whisk to create a smooth mixture. Place the saucepan over medium heat and cook, stirring constantly, until the mixture thickens and begins to bubble. This usually takes about 7-10 minutes.
Step 2: Temper the Egg Yolks
Once the pudding mixture is thick, slowly ladle about 1 cup of the hot mixture into the beaten egg yolks while whisking constantly. This process, called tempering, prevents the eggs from scrambling. Then, pour the egg yolk mixture back into the saucepan with the remaining pudding.
Step 3: Cook the Pudding
Return the saucepan to medium heat and cook for another 2-3 minutes, stirring constantly until the pudding is thick and creamy. Remove from heat and stir in the vanilla extract and butter until fully incorporated and smooth.
Step 4: Layer the Banana Pudding
In a large trifle dish or individual serving glasses, start by placing a layer of vanilla wafers on the bottom. Add a layer of sliced bananas on top of the wafers. Pour a generous amount of pudding over the bananas, then repeat the layers until you run out of ingredients, finishing with a layer of pudding on top.
Step 5: Chill and Serve
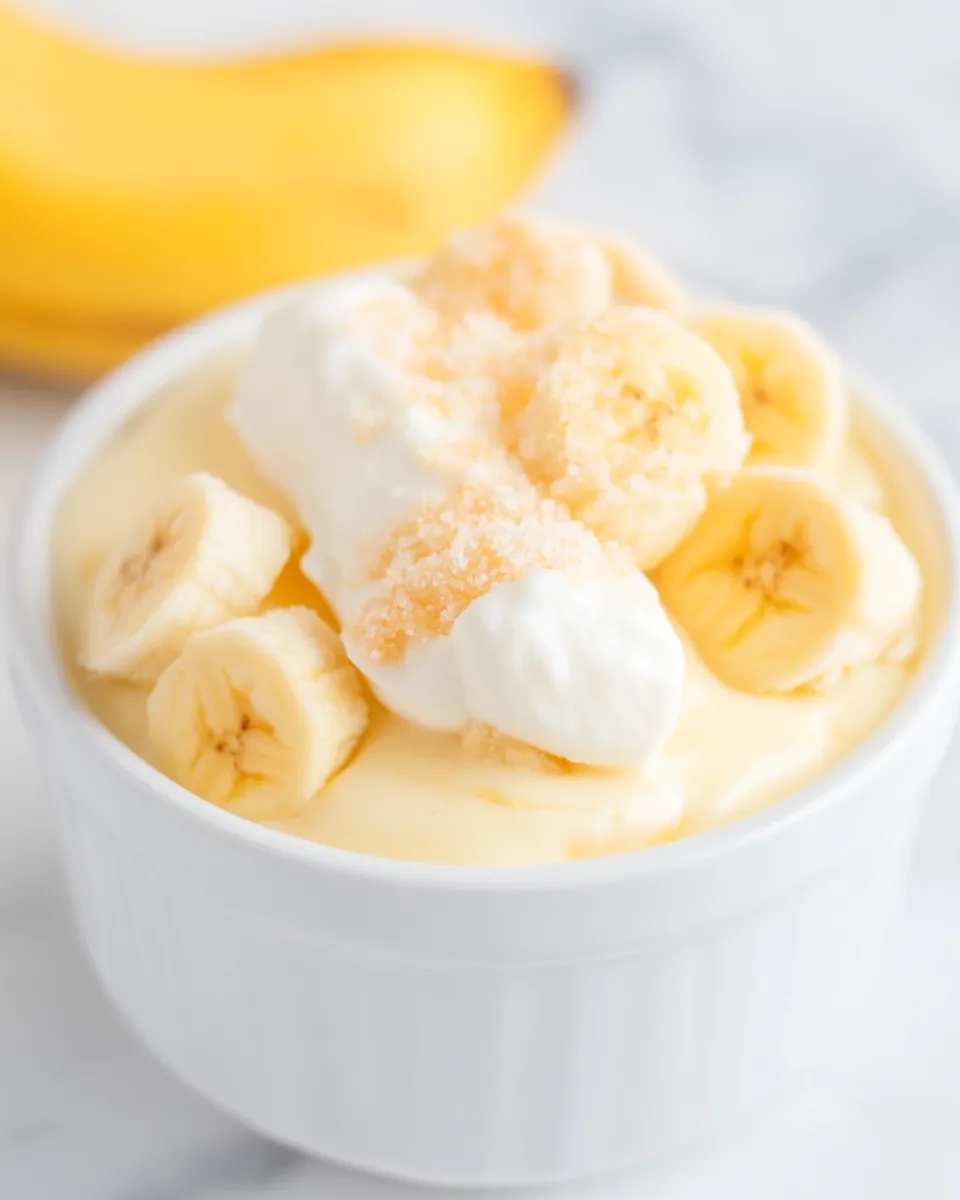
Cover the pudding with plastic wrap, pressing the wrap directly onto the surface of the pudding to prevent a skin from forming. Refrigerate for at least 4 hours or overnight for the best flavor and texture. Before serving, optionally top with whipped cream and additional vanilla wafers for extra crunch.
Expert Tips
- Use ripe bananas with a few brown spots for the best natural sweetness and flavor.
- Press the plastic wrap directly onto the surface of the pudding before chilling to avoid a pudding skin.
- For a thicker pudding, allow it to cook a minute or two longer, but keep stirring to avoid burning.
- If fresh bananas are not available, frozen banana slices can be used but may be softer in texture.
- For extra creaminess, substitute 1 cup of milk with heavy cream or coconut cream.
- Layering the pudding a few hours before serving allows the wafers to soften slightly, creating a delightful texture contrast.
- To save time, you can prepare the pudding ahead and assemble just before serving, but fresh bananas give the best taste and texture.
Variations and Customizations
- Coconut Banana Pudding: Replace milk with coconut milk and add shredded coconut between layers for a tropical twist.
- Chocolate Banana Pudding: Add 1/4 cup unsweetened cocoa powder to the pudding mixture for a rich chocolate flavor.
- Vegan Version: Use plant-based milk (almond or soy) and substitute egg yolks with 1/4 cup cornstarch dissolved in milk; use vegan butter or coconut oil.
- Nutty Crunch: Add chopped toasted pecans or walnuts between the layers for added crunch and flavor.
- Cinnamon Spice: Sprinkle ground cinnamon or nutmeg into the pudding mixture for a warm, spicy note.
- Berry Banana Pudding: Add fresh berries such as strawberries or blueberries between layers for a fruity contrast.
How to Store Leftovers
Store leftover banana pudding in an airtight container in the refrigerator for up to 3 days. Note that the vanilla wafers will continue to soften over time, so the texture may become less crunchy. If you prefer a crispier topping when serving leftovers, add fresh vanilla wafers or cookies on top just before serving. Avoid freezing banana pudding as the texture of the bananas and pudding will change upon thawing.
FAQ
Can I make banana pudding in advance?
Absolutely! Banana pudding actually tastes better when made a few hours or even a day ahead, as this allows the flavors to meld and the wafers to soften perfectly. Just be sure to cover it tightly and refrigerate until ready to serve.
What can I use instead of egg yolks?
If you want to avoid eggs, you can substitute the egg yolks with extra cornstarch (about 1/4 cup dissolved in milk). This will help thicken the pudding, but the texture may be slightly different. There are also commercial egg replacers designed for cooking that can be used.
Can I use other cookies instead of vanilla wafers?
Yes! While vanilla wafers are traditional, you can use shortbread cookies, graham crackers, or even digestive biscuits for a different flavor and texture profile. Just keep in mind that the softness and sweetness will vary.
How do I prevent the pudding from forming a skin?
A simple way to prevent a skin from forming is to place a piece of plastic wrap directly on the surface of the pudding while it cools. This prevents air from drying out the surface. You can also stir the pudding occasionally as it cools if you plan to serve it immediately.
Conclusion
Homemade banana pudding is one of those classic desserts that never goes out of style. With its creamy vanilla pudding, fresh bananas, and crunchy vanilla wafers, it’s a comforting and satisfying treat that’s perfect year-round. This recipe is straightforward to make and adaptable to whatever ingredients or flavors you prefer, making it a versatile dessert for any occasion. Whether you’re new to making pudding from scratch or a seasoned pro, this banana pudding is sure to become a favorite in your dessert repertoire. So grab some ripe bananas and get ready to enjoy a delicious, homemade treat that’s bursting with nostalgic flavor and irresistible texture!
Homemade Banana Pudding
Ingredients
- 3 cups whole milk or any preferred milk alternative
- 3/4 cup granulated sugar
- 1/3 cup cornstarch
- 1/4 teaspoon salt
- 3 large egg yolks lightly beaten
- 2 teaspoons pure vanilla extract
- 3 tablespoons unsalted butter room temperature
- 4-5 ripe bananas sliced
- 1 box vanilla wafer cookies 12-ounce
- 1 cup heavy cream optional, or coconut cream for dairy-free, whipped for topping
Instructions
Step 1: Prepare the Pudding Base
- In a medium saucepan, whisk together the sugar, cornstarch, and salt. Slowly pour in the milk while continuing to whisk to create a smooth mixture. Place the saucepan over medium heat and cook, stirring constantly, until the mixture thickens and begins to bubble, about 7-10 minutes.
Step 2: Temper the Egg Yolks
- Once the pudding mixture is thick, slowly ladle about 1 cup of the hot mixture into the beaten egg yolks while whisking constantly to temper the eggs. Then, pour the egg yolk mixture back into the saucepan with the remaining pudding.
Step 3: Cook the Pudding
- Return the saucepan to medium heat and cook for another 2-3 minutes, stirring constantly until the pudding is thick and creamy. Remove from heat and stir in the vanilla extract and butter until fully incorporated and smooth.
Step 4: Layer the Banana Pudding
- In a large trifle dish or individual serving glasses, place a layer of vanilla wafers on the bottom. Add a layer of sliced bananas on top of the wafers. Pour a generous amount of pudding over the bananas, then repeat the layers until ingredients are used, finishing with a layer of pudding on top.
Step 5: Chill and Serve
- Cover the pudding with plastic wrap, pressing the wrap directly onto the surface of the pudding to prevent a skin from forming. Refrigerate for at least 4 hours or overnight for best flavor and texture. Optionally top with whipped cream and additional vanilla wafers before serving.
Equipment
- Medium Saucepan
- Whisk
- Large trifle dish or individual serving glasses
- Plastic Wrap